A Guide to Sketch Design Interior
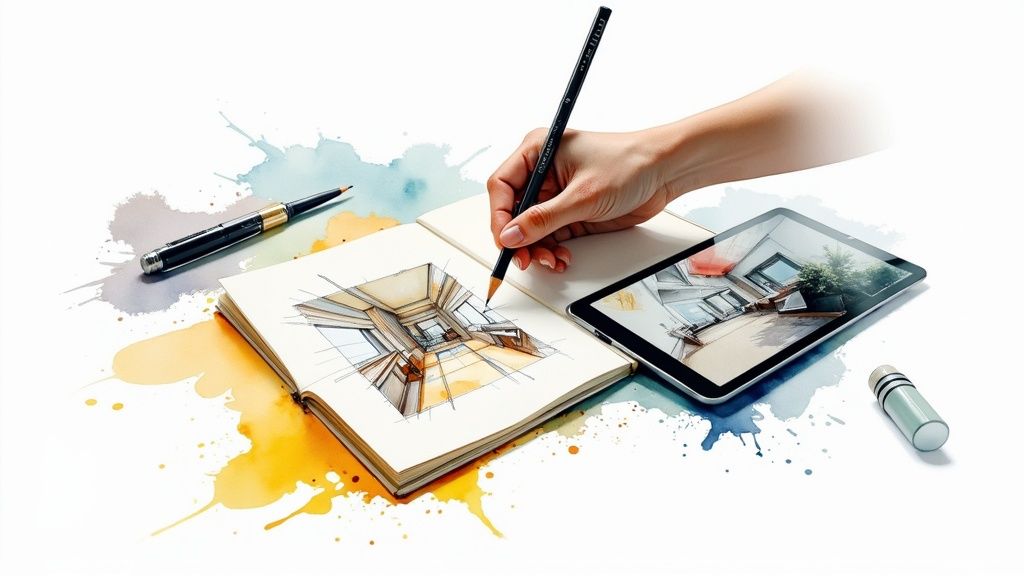
That spark of an idea for a room makeover is thrilling, but how do you turn it into a real, workable plan? It all starts with a sketch design interior. Think of it as a visual map, the essential bridge that takes your imagination and puts it on paper. This is the bedrock of any good design—it’s where you clarify ideas, solve tricky layout puzzles, and make sure what you see in your head is what you get in the end.
Why Your Interior Design Vision Starts with a Sketch
The journey from a vague concept to a beautifully finished room always begins with one simple, powerful action: sketching. This isn’t about creating a masterpiece for a museum; it’s about exploration and communication. A quick sketch is the fastest way to get thoughts out of your head and make them tangible. It’s the single best tool for figuring out spatial challenges before you even think about buying furniture or knocking down walls.
When you start drawing, you’re doing more than just putting lines on paper. You’re kicking off the first phase of space planning—a crucial practice that ensures a room is both functional and beautiful. You can dive deeper into the nuts and bolts of it here: https://www.room-genius.com/blog/what-is-space-planning/.
This initial drawing helps you spot problems early on. You’ll quickly see if a furniture arrangement feels awkward or if a walkway is too cramped, long before these issues become expensive mistakes. It’s a low-risk, high-reward process that gives you confidence and a clear roadmap for everyone involved, from your partner to your contractor.
The Real-World Impact of Sketching
Good design is in high demand. The global interior design market was valued at around $137.93 billion in 2024 and is only expected to keep growing. This isn’t just a random number; it shows a real appreciation for thoughtfully planned spaces, and that process almost always begins with a sketch.
A solid sketch brings practical benefits that make your entire project run smoother.
- It clarifies your vision. Sketching forces you to make concrete decisions about layout, scale, and how the room will be used, turning abstract ideas into a defined concept.
- It improves communication. A visual plan is a universal language. It helps you show your contractor, designer, or family exactly what you mean, cutting down on confusion.
- It prevents expensive mistakes. Experimenting on paper costs nothing. Realizing a sofa is too big or a layout just won’t work before you buy it saves a ton of time and money.
- It sparks new ideas. Sketching is a creative process. As you start to visualize your space, you might get inspired to try something new. For instance, exploring examples like these creative small kitchen design ideas can open up a world of possibilities.
Sketching Methods At a Glance
Whether you prefer the classic feel of pencil on paper or the flexibility of digital tools, there’s a sketching method that will work for you. Here’s a quick breakdown to help you decide.
| Method | Key Benefit | Best For |
|---|---|---|
| Traditional Hand-Sketching | Tactile and immediate connection to the design process. | Quick brainstorming, capturing initial concepts, and feeling the creative flow. |
| Modern Digital Sketching | Easy editing, precise scaling, and seamless sharing. | Detailed planning, experimenting with layouts, and collaborating with others. |
Both approaches are fantastic starting points. The best one is simply the one that gets your ideas out of your head and into a visual format you can work with.
Ultimately, a sketch design interior isn’t just a preliminary step; it’s the strategic foundation upon which a successful project is built. It empowers you to test ideas, refine your goals, and move forward with a clear and confident plan.
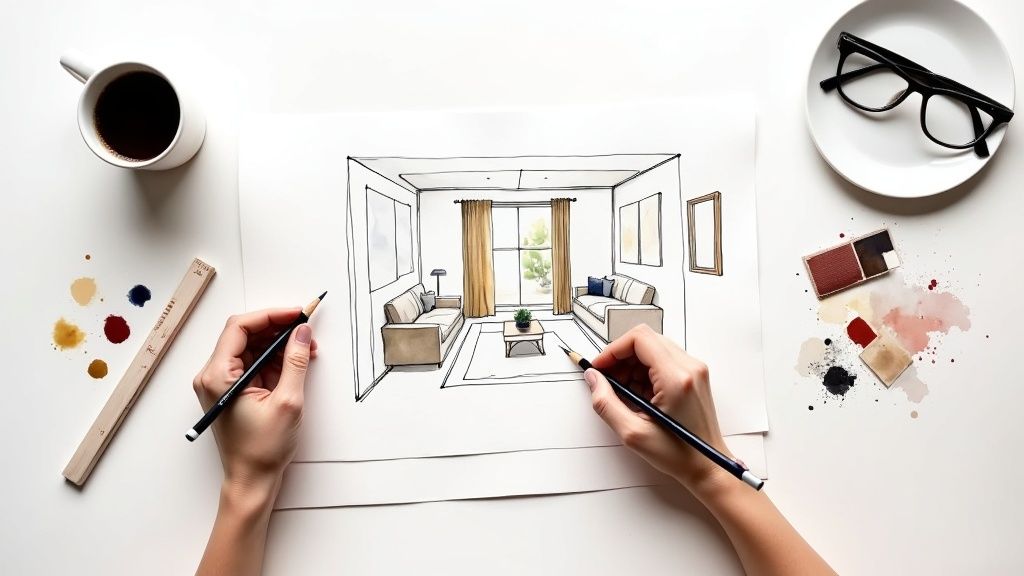
Getting Started with Hand Sketching
You don’t need to be Leonardo da Vinci to sketch a room. Seriously. The whole point isn’t to create a masterpiece for a gallery; it’s about getting the vision out of your head and onto paper so you can actually see it. It’s a communication tool, first and foremost.
So, let’s ditch the pressure for perfection. Instead, we’ll focus on a few core techniques that will give your drawing a sense of depth and reality. Mastering these basics will give you the confidence to map out any room before you even think about buying furniture.
Make It Look 3D with Perspective
The magic trick to making a flat drawing feel like a real room you can walk into is perspective. It’s all about creating the illusion of depth. For most interior sketches, you’ll only ever need two types.
-
One-Point Perspective: This is your go-to when you’re looking straight at a single wall. Think of a feature wall with a fireplace or the wall your bed is against. All the lines that move away from you—like the edges of the floor and ceiling—will appear to shrink until they meet at a single “vanishing point” in the distance. It’s the simplest way to show depth.
-
Two-Point Perspective: This one is more dynamic and what I use for most room sketches. It’s perfect for when you’re looking into a corner. Instead of one vanishing point, you have two, one off to the left and one to the right. This creates a much more engaging and realistic view of the space.
The best way to get the hang of this? Practice drawing a simple box. If you can draw a solid-looking cube in both one-point and two-point perspective, you can draw almost any piece of furniture. A sofa is just a collection of soft boxes, and a table is a flat box on skinny legs.
Your sketch is a tool, not a final exam. Imperfect, wobbly lines are fine! The goal is to communicate an idea, not to produce a flawless piece of art.
Nail Down Your Proportions and Scale
Once you’ve got a handle on perspective, the next step is making sure everything in the room looks the right size in relation to everything else. This is what keeps your sofa from looking like it’s built for a giant or your coffee table from looking like dollhouse furniture.
Here’s a simple trick I use all the time: start with the door. A standard doorway is about 7 feet (or 2.1 meters) high. Sketch that in first, and suddenly you have a built-in ruler for your entire drawing. From there, you can eyeball everything else. A chair will be much shorter than the doorway, a standard ceiling is just a foot or two above it, and a console table will hit somewhere around your hip. It’s a dead-simple way to keep your sketch grounded in reality.
Bring It to Life with Shading and Texture
A sketch is just lines on a page until you add light and shadow. Shading and texture are the final touches that give your drawing form and make it feel tangible. Don’t worry, this doesn’t require a fine arts degree.
For shading, just ask yourself: where is the light coming from? A window? A lamp? The surfaces facing away from that light source will be in shadow. You can create these shadows with simple cross-hatching—just layers of parallel lines. This little detail instantly makes objects look solid and three-dimensional.
Texture is even simpler. It’s all about suggestion. A few squiggly, parallel lines can read as wood grain on a floor. Short, curved marks on a sofa hint at a soft fabric. You’re not trying to draw every single thread; you’re just giving the brain enough visual information to fill in the blanks. These quick, simple marks are what complete the story of the space.
From Paper Sketch to Digital Blueprint
Once you have that hand-drawn concept down on paper, you’ve captured the soul of your design. The next step is to bring that creative spark into the digital world, where you can turn it into a flexible, precise plan. Think of this as taking your sketch design interior from a static idea and transforming it into a dynamic blueprint you can tweak and perfect endlessly. You’re not replacing your original work; you’re just giving it superpowers.
First things first, you need to get your drawing onto a screen. A high-resolution photo from your phone will do the trick, especially if you snap it in bright, even lighting. If you’re after more precision, a flatbed scanner is your best friend—it gives you a perfectly flat image with no distortion, creating an ideal base for digital tracing.
Refining Your Lines and Layout
With your sketch uploaded into a design app like Procreate or a free tool like SketchUp Free, you can now use it as a foundational layer. It’s like having digital tracing paper. Just lower the opacity of your original sketch and start a new layer on top to draw clean, straight lines and smooth out those curves.
This is the moment where the raw, expressive energy of your hand-drawn sketch gets a professional polish. You’re not losing the original vibe; you’re just making it clearer.
- Straighten Edges: Use the line tools to turn those slightly wobbly walls into crisp, clean boundaries.
- Perfect Shapes: Turn freehand circles and squares into geometrically perfect forms for things like area rugs or coffee tables.
- Adjust Proportions: This is a big one. You can easily scale furniture up or down to see how different sizes affect the room’s flow and overall balance.
Adding Precision and Detail
One of the best parts about going digital is the ability to work with exact measurements. Your hand sketch was all about getting the feel and proportions right, but the digital version is where you confirm that everything actually fits. You can overlay a grid, pop in precise dimensions for walls, and make sure that 3-foot walkway you envisioned is truly wide enough to be comfortable.
The real magic of working digitally is the freedom to experiment without consequences. It turns your sketch from a statement into a conversation, letting you ask “what if?” and get an instant visual answer.
This is also the perfect time to build out a more detailed layout. For anyone wanting to really nail this part, learning how to create floor plans with accuracy will give you a solid foundation. It’s all about reinforcing your initial concept with hard data.
This process flow visual really breaks down the core principles that support both hand-drawn and digital sketching.
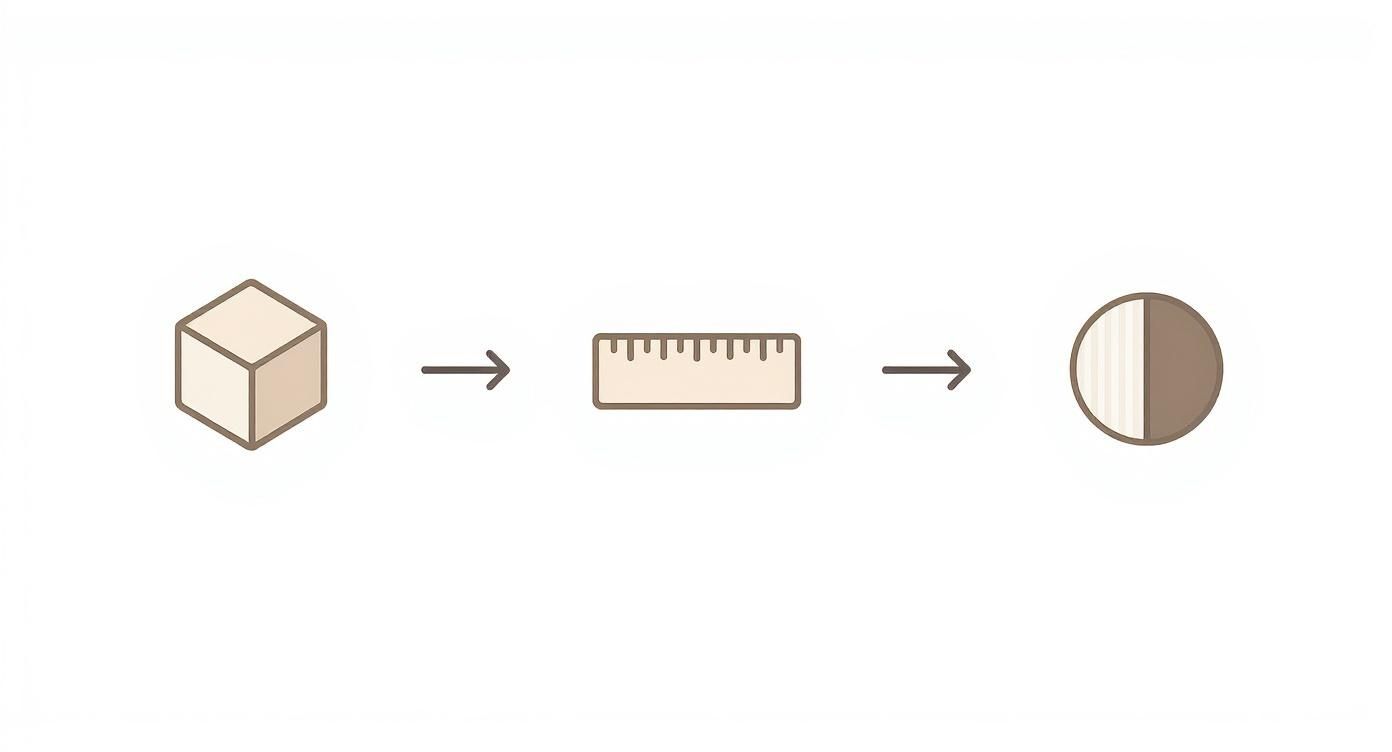
As the infographic shows, principles like perspective, scale, and shading are universal, but they become so much more powerful when you can apply them with digital precision.
Experimenting with Color and Materials
Okay, this is where the fun really kicks in. On paper, choosing a color is a serious commitment. Digitally? It’s just an experiment. You can whip up multiple color palettes and apply them in a click to see how each one changes the entire mood of the room.
Ever wonder if that accent wall would look better in a deep navy or a soft sage green? Now you can find out in seconds. You can also start dropping in textures—think wood grains for the flooring, fabric swatches for sofas, or a marble finish for countertops—to build a far more realistic and compelling visual. This process transforms your simple sketch into a rich, detailed, and incredibly flexible plan, all ready for the next phase.
Using AI to Speed Up Your Design Process
Not long ago, turning a simple floor plan into a stunning, photorealistic render was a multi-day job requiring specialized software and a lot of patience. Today, that leap can happen in minutes. Artificial intelligence has completely reshaped how we visualize a sketch design interior, acting less like a tool and more like a creative partner.
Think about it: you take your clean, 2D sketch of a living room layout and upload it to a platform like RoomGenius. Almost instantly, you get back a whole gallery of fully rendered, beautifully styled options. This isn’t about the AI taking over your job; it’s about giving your creativity a massive boost, letting you explore dozens of directions in the time it used to take to model a single sofa.
From Line Drawing to Lifelike Renders
The real magic happens when you start “talking” to the AI with simple text prompts. You’re essentially the art director, guiding the software to bring your vision to life with plain English commands. This back-and-forth turns a static drawing into a live sandbox where you can experiment freely.
Here’s how this plays out in real projects:
- For a minimalist living room sketch: You could tell the AI to “render this in a Scandinavian style with light oak floors, furniture in neutral tones, and lots of bright, natural light.”
- For a cozy bedroom concept: Your prompt might be something like, “generate this design with a modern farmhouse feel, using warm layered fabrics, a vintage-style rug, and matte black metal fixtures.”
This lets you test-drive different aesthetics without sinking hours into rendering something that might not even work. You can quickly see if your gut instinct was right or if another style feels more compelling for the space.
This isn’t just about going faster—it’s about breaking through creative ruts. When you can see ten or twenty variations of your sketch in a few minutes, you start discovering combinations you never would have considered, sharpening your vision with incredible clarity.
Refining Your Vision with AI
The first batch of images from the AI is rarely the final product. It’s the starting line. From there, you begin to refine the details, using new prompts to tweak specific elements until the design is just right. This is where the real collaboration between your expertise and the AI’s speed clicks into place.
You can get incredibly specific with your commands. Try things like “change the sofa to a deep green velvet sectional,” “add a warm floor lamp in the corner for ambient light,” or “swap the square coffee table for a round one made of marble.” Each prompt gives you a new image, creating a rapid feedback loop that makes decision-making so much more efficient.
This technology is already making huge waves. Some studies show that AI platforms can slash concept development timelines by as much as 80%. This not only makes professional design visualization more accessible but also helps you get client buy-in much faster.
If you want to see how different tools stack up, check out our guide on choosing the best AI app for interior design. It’s all about empowering you to produce a polished, client-ready sketch design interior at a speed that was once unimaginable.
Insider Tips for a More Effective Interior Sketch
A truly great sketch design interior does more than just map out a room; it tells a story and sells an idea. It’s about moving your drawings from simple doodles to powerful planning tools. This shift often comes down to a few practical habits I’ve picked up over the years. These small changes in your approach can make a huge difference in how well your sketches capture your vision and turn it into a real, workable plan.
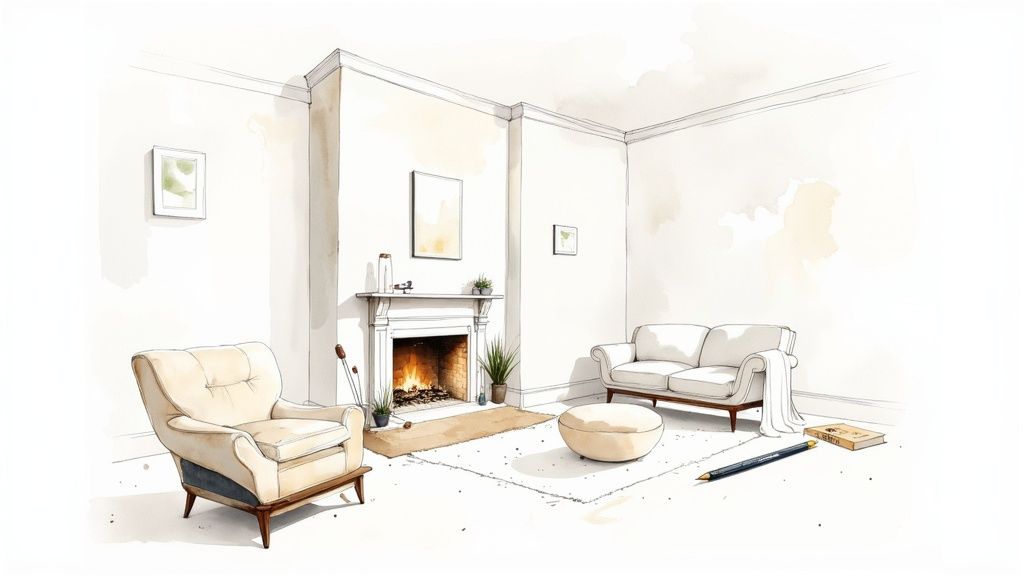
It’s easy to feel overwhelmed trying to capture an entire room at once. The trick is to start with a single focal point. Is there a big fireplace, a picture window with an amazing view, or a statement sofa? Pick that one thing and anchor your drawing around it.
By starting with this key element, you instantly give the sketch a sense of order. Everything else falls into place around it, which makes getting the scale and proportions right so much easier. This simple method keeps the process from feeling chaotic and gives your drawing an immediate focus, just like a well-designed room should have.
Build Your Sketch in Layers
Another habit I swear by is thinking in layers. Don’t try to get every detail perfect from the get-go. Instead, build up the complexity gradually. This gives you way more control and separates the room’s structure from all the decorative bits and pieces.
Here’s how I break it down:
- Lay down the “bones” first. Start with the basic shell of the room—the walls, floor, ceiling, doors, and windows. Keep these lines light and loose. No pressure.
- Block in the big furniture. Next, place your largest items like the sofa, bed, or dining table. Just focus on their basic shapes and where they’ll live in the space.
- Add the finishing touches. Now for the fun part. Fill in the smaller furniture, lighting, rugs, and accessories. This is also when you can start adding a bit of shading and texture to make the drawing pop.
Working this way is far less intimidating, and if you need to make changes, you won’t have to scrap the whole thing and start over.
Your sketch is a tool, not a final masterpiece. Embrace imperfect, slightly wobbly lines. The goal is to communicate a spatial idea quickly and effectively, not to create a work of art ready for a gallery.
Use Notes and Mind the Gaps
A powerful sketch design interior is more than just a picture. A few quick written notes—annotations—can turn a simple drawing into a genuine blueprint for your design. I like to jot down things like “light oak floor,” add dimensions for important clearances, or draw arrows to show how people will walk through the space. These notes add a layer of crucial information that the drawing alone can’t express.
Finally, don’t forget to pay attention to the empty areas—the negative space. This is all the space between and around your furniture. A good layout needs room to breathe. Making sure your sketch has enough negative space is the secret to creating a design that feels open and uncluttered instead of cramped and busy. This deliberate use of empty space is a true sign of thoughtful design.
Got Questions About Sketching Your Interior Design?
Jumping into interior design sketching for the first time? It’s totally normal to have a few questions. In fact, getting these sorted out upfront can make the whole creative process feel a lot less intimidating and a lot more fun.
Let’s tackle some of the most common things that come up when people are starting out.
Do I Really Need to Be an Artist?
Absolutely not. This is probably the biggest myth out there. Your goal with an interior design sketch isn’t to create a masterpiece for an art gallery; it’s to communicate an idea.
Think of it more like a visual blueprint. Simple shapes, basic lines, and clear labels are what matter here. It’s all about mapping out the layout, figuring out the scale of your furniture, and getting a feel for the flow of the room. Clarity is king, not artistic perfection.
What are the Best Free Digital Tools to Use?
If you’re ready to move past pencil and paper, there are some fantastic free digital tools that can help bring your ideas to life without costing a penny.
- SketchUp Free: A great starting point if you want to dip your toes into 3D modeling. It’s powerful but still approachable for beginners.
- Planner 5D & Roomstyler: These are brilliant for 2D and 3D room planning. They have easy-to-use drag-and-drop interfaces that make building a virtual room a breeze.
- AI Platforms: Tools like RoomGenius often have free trials. You can just upload a simple sketch and watch as it generates tons of different design concepts in seconds.
How Do I Keep My Sketch from Looking Weird and Out of Scale?
Getting proportions right by hand can feel tricky, but there are a few simple tricks. First, measure your room and a couple of big furniture items. Grab some graph paper and decide on a scale—maybe one square equals one foot. This immediately gives you a framework to work within.
Another great tip is to use a familiar object as your reference point. A standard doorway is usually about 7 feet high. By constantly comparing the other elements in your drawing to that doorway, you’ll naturally keep everything grounded in reality.
Pro Tip: Your sketch is actually a powerful budgeting tool. As you draw each piece—the sofa, the rug, the light fixtures—you’re creating a visual shopping list. This helps you build a realistic budget and sidesteps those unexpected costs later on.
Ready to see your sketch transform into a photorealistic masterpiece in seconds? With RoomGenius, you can upload your drawing and let AI generate endless design possibilities. Stop guessing and start visualizing. Try RoomGenius for free today!