Mastering Interior Sketch Design for AI
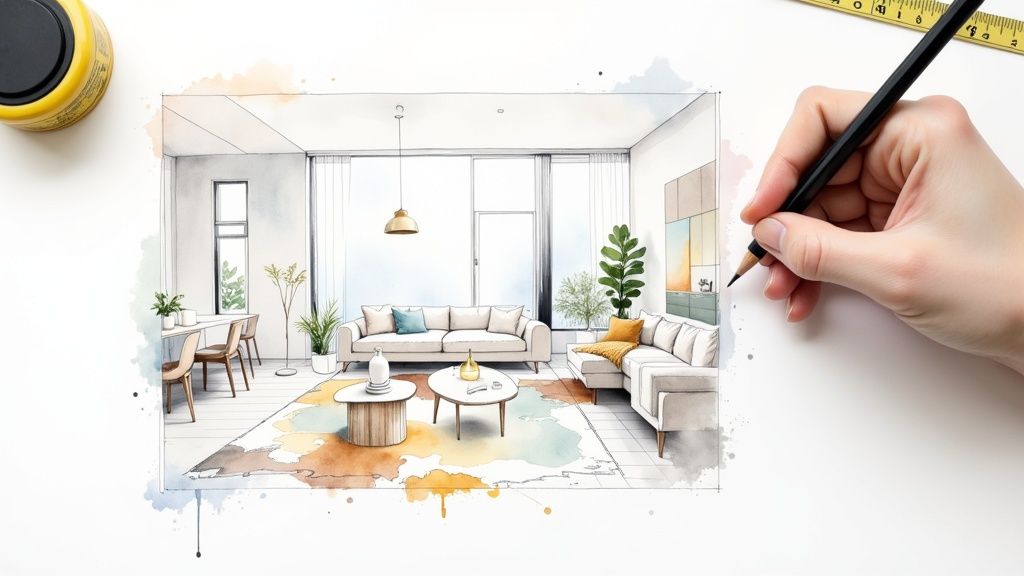
An interior sketch is really just a simple, hand-drawn map of your room. You’re not trying to create a masterpiece here. The goal is clear communication, giving an AI design tool like RoomGenius the basic structural information it needs to produce a design that actually works in your space.
Why a Simple Sketch Unlocks Powerful AI Designs
Before any AI can start dreaming up new looks for your room, it needs to understand the fundamentals. A photo shows what your room looks like right now, but a sketch communicates its permanent structure—the unchangeable elements that make up the space. Think of it as giving the AI the room’s architectural DNA.
This simple drawing provides critical context that a photo often hides. It maps out where things are in relation to each other, defines the room’s boundaries, and pinpoints fixtures that aren’t going anywhere. You absolutely don’t need to be an artist; a basic diagram with clean lines is much more useful than a beautiful but confusing drawing. Your main job is to remove any guesswork for the AI.
Clarity is More Important Than Detail
A photograph can be full of visual noise—clutter, weird lighting, and distorted angles from a phone’s camera. An AI can easily get confused, misinterpreting a shadow as a wall or failing to grasp the room’s true size from a wide-angle shot. A sketch cuts right through all that static.
By starting with a clean, 2D plan, you’re handing the AI a cheat sheet with:
- Accurate Layout Data: The exact location of walls, windows, and doors.
- Defined Scale: A clear sense of proportion between furniture and the room itself.
- Structural Certainty: An unmistakable map of permanent features like a fireplace, built-in shelves, or a kitchen island.
This foundational clarity is what allows an AI to generate concepts that are not only beautiful but also practical and physically possible. The tool can then put its energy into the creative stuff—style, color, and materials—because it already knows the layout is solid.
Your sketch is a conversation with the AI. It sets the rules of the game, telling the algorithm, “Here are the boundaries and fixed points; now show me what you can do inside them.”
When a Sketch Beats a Photo
Let’s look at a common situation. Imagine you want to redesign a living room that has a clunky, immovable radiator right under the main window. A photo shows the radiator, sure, but the AI has no way of knowing it’s a permanent fixture. It might suggest putting a bookshelf there.
In your sketch, you can draw the radiator and label it: “Radiator - Do Not Move.” This simple note ensures every design generated by the AI respects that real-world constraint. You just can’t give that kind of direct instruction with a photo.
It’s the same idea if you’re planning for new furniture. A sketch lets you draw in a properly scaled rectangle to represent the big sectional sofa you’ve been eyeing. This tells the AI your plans for the room’s future function, resulting in much more relevant and personalized design ideas.
Comparing Input Methods for AI Interior Design Tools
Choosing between a quick photo and a thoughtful sketch depends on your goals. A photo is fast, but a sketch gives you far more control over the final outcome. Here’s a breakdown of how they stack up.
| Feature | Photo-Only Input | Detailed Sketch Input |
|---|---|---|
| Speed & Effort | Pros: Very fast. Just point and shoot. Cons: No prep time, but can lead to more revisions. | Pros: Gives AI clear instructions from the start. Cons: Requires about 15-20 minutes of measuring and drawing. |
| Accuracy | Pros: Captures existing colors and textures. Cons: Prone to distortion from camera lenses and lighting. | Pros: Provides precise dimensions and spatial relationships. Cons: Doesn’t capture the room’s current aesthetic. |
| Control | Pros: Easy to show the “before” state. Cons: Very limited control over structural elements. | Pros: Full control to define fixed features and plan for new furniture. Cons: You are responsible for providing the correct information. |
| Best For | Pros: Quick styling updates, color changes, or simple furniture swaps in an existing layout. | Pros: Complete redesigns, planning for new construction, or working with complex or empty rooms. |
Ultimately, starting with a sketch gives you the power to guide the AI, not just show it a picture. You’re moving from just showing what is to dictating what could be.
Getting Your Room’s Dimensions Right
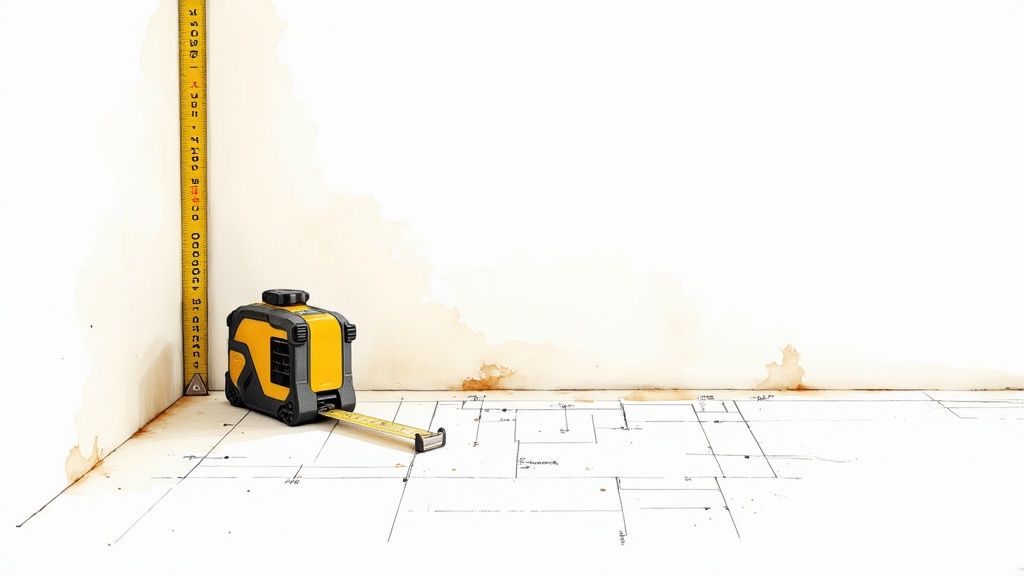
Before you even think about drawing a single line for your interior sketch design, you have to get the measurements right. I can’t stress this enough. If your measurements are off, the AI-generated concepts you get back from a tool like RoomGenius will be stylish but ultimately useless—they won’t fit your actual space.
So, grab your tools. A classic retractable tape measure is perfectly fine, but if you have a larger or oddly shaped room, a laser distance measurer is a game-changer. It seriously cuts down on time and potential errors. Your mission here is to capture every key dimension to build a reliable blueprint for the AI.
What to Measure First
Start with the big stuff to get the overall volume of the room. Don’t worry about making a pretty drawing at this stage; just focus on getting accurate numbers down on paper.
- Wall Lengths: Go corner to corner on each wall. Jot down these numbers on a quick, rough diagram of the room’s shape.
- Ceiling Height: Measure from floor to ceiling. If you have a sloped or varied ceiling, make sure to note the different heights and where those changes happen.
- Doors and Windows: You need the width and height of every opening. Just as important, measure how far each one is from the nearest corners and from the floor.
Following these steps turns your room from a vague concept into a defined, measurable space. This is the raw data that keeps the AI from making silly mistakes, like putting a bookshelf right where your door is supposed to open. If you’re new to this, getting a foundational understanding of floor plans can really help you visualize the space on paper.
I always tell people to think of a precise sketch as a contract with the AI. It clearly states, “These are the non-negotiable facts of the space.” When the dimensions are locked in, the AI can get to work on the creative part—the design itself.
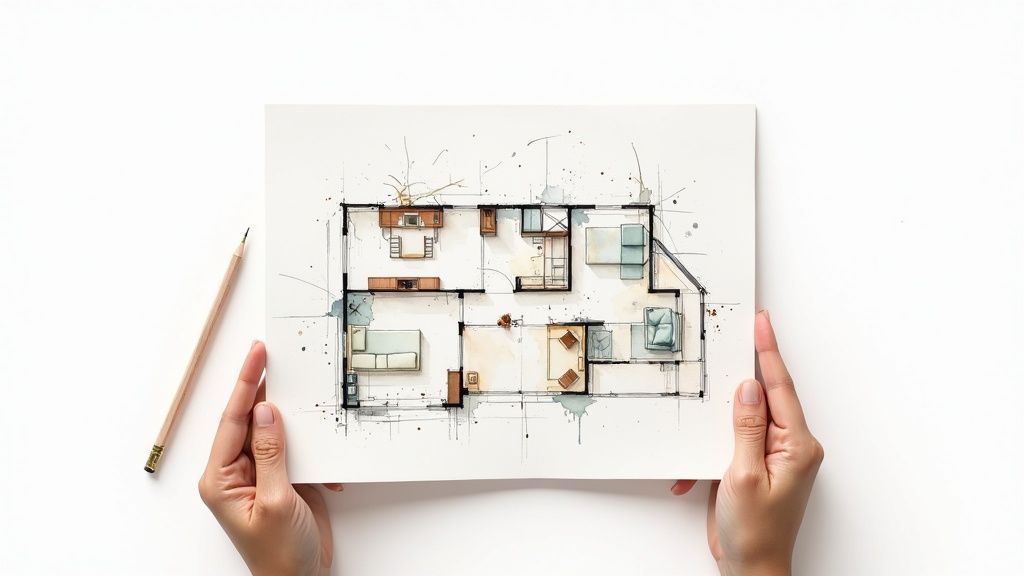
Mapping Out a Rough Floor Plan
With all your numbers in hand, it’s time to sketch out a simple bird’s-eye view of the room. This rough floor plan doesn’t need to be a masterpiece, but it should be reasonably proportional. It’s basically a visual map for organizing all the measurements you just took and a critical step before you move on to a final sketch. For a more detailed walkthrough, check out our guide on https://www.room-genius.com/blog/how-to-create-floor-plans/.
Think of this as building the skeleton of your room. On this plan, you need to mark the location of a few key things:
- Windows and doorways
- Built-in features, like a fireplace or closets
- Permanent fixtures, such as radiators or structural columns
- Electrical outlets and light switches
This kind of careful prep work has become essential as our design tools have gotten more powerful. The global interior design software market was valued at around USD 5.37 billion and is expected to hit USD 9.66 billion by 2030. That growth is fueled by people like you wanting to renovate and redesign their homes, which highlights just how much demand there is for accurate, digitally-driven design.
Sketching Techniques for Non-Artists
Let’s get one thing straight right away: creating a great interior sketch design has very little to do with being an artist. This is all about communication. You’re not trying to create a masterpiece to hang on the wall; you’re making a clear, functional map for an AI to follow. All you need are a few simple techniques to get the job done.
Forget about fancy shading or trying to draw perfectly straight lines freehand. Your best friends here are a pencil, a ruler, and a good eraser. The goal is a clean, uncluttered drawing. Use basic geometric shapes to represent your furniture—a rectangle for the sofa, a circle for the coffee table, a square for that side table. The real trick is getting the proportions right. Just make sure the sofa looks bigger than the end table, same as it is in real life.
Bringing Depth with Simple Perspective
A flat, top-down drawing can be really confusing for an AI. To give your sketch a sense of depth and make it instantly more readable, we can use a simple trick called one-point perspective. It sounds more technical than it is, I promise.
- First, draw a horizon line. This is just a light, horizontal line across your page that represents your eye level.
- Next, pick a vanishing point. Place a single dot anywhere on that horizon line. This is the spot where all the diagonal lines in your room will meet, creating that illusion of distance.
- Draw the back wall. Start with the wall you’d be looking at head-on. It’s just a simple rectangle.
- Finally, connect the corners. From each corner of that back wall, draw light, straight lines back to your vanishing point. And just like that, you’ve created the floor, ceiling, and side walls.
You now have a 3D box that looks and feels like your room. Anything you draw inside these converging lines will automatically appear to be in the space correctly, which is a huge help for the AI’s interpretation.
Perspective isn’t about perfection; it’s about providing enough visual information for the AI to understand that one object is behind another. A few simple converging lines can transform a confusing flat layout into an understandable 3D space.
Indicating Materials and Textures Simply
You don’t need to meticulously draw every wood grain or fabric weave. Simple, suggestive patterns are all it takes to communicate different textures to the AI without making your sketch messy. Think of it as a visual shorthand.
Here are a few quick ways to hint at materials:
- Wood: A few parallel, slightly wavy lines are perfect for indicating a wood grain on floors or a tabletop.
- Fabric: For a sofa or curtains, some soft, curved lines or very loose, light cross-hatching can suggest a soft material.
- Glass: Just a couple of clean diagonal lines across a window or mirror is all you need to signal that it’s a reflective surface.
The Power of Clear Labels
This might be the single most important part of the whole process. Label everything. Never assume the AI will just know that a big rectangle is a sofa or a square on the wall is a window. You have to be explicit.
Use clear, simple labels and draw arrows pointing directly to the item. Be specific:
- “L-shaped sofa"
- "Oak coffee table"
- "Large window - north wall"
- "Fireplace - Do Not Move”
When you combine these simple shapes, a touch of perspective, and crystal-clear labels, you remove all the guesswork for the AI. If you want to see how the pros approach this, our article on the essentials of an interior design sketch has some fantastic examples. By providing this level of clarity, you’re giving the AI a precise set of instructions, which is the key to getting back designs that actually match what you had in mind.
From Paper to Pixels: Getting Your Sketch AI-Ready
You’ve got your sketch finalized on paper. Now, it’s time to bring it into the digital world where the AI can work its magic. This isn’t about needing fancy equipment; it’s all about technique. Your goal is to create a clean, crisp digital file, whether you’re using a scanner or just the camera on your phone.
Think of it like this: you’re handing over a blueprint to a builder. You wouldn’t give them a coffee-stained, crumpled piece of paper, right? The same principle applies here. A clear digital sketch is the foundation for any successful interior sketch design project, especially when you’re working with a sophisticated AI interior design tool that needs clean visual information. A good scan prevents the AI from getting confused and mistaking a shadow for a wall or a pencil smudge for a piece of furniture.
How to Capture a Flawless Digital Image
Over the years, I’ve found that getting a great digital copy of a sketch boils down to just a few simple, but crucial, steps.
- Find the Right Light: Good lighting is everything. Natural daylight from a nearby window is perfect, but make sure it’s indirect. Direct sunlight creates harsh, distracting shadows. If you’re using lamps, position one on each side at a 45-degree angle to create even, shadow-free illumination.
- Get Directly Overhead: Never shoot your sketch from an angle. It will completely warp the proportions and throw off the AI’s understanding of the space. Hold your phone perfectly parallel to the paper, as if you’re taking a photo of a document. A small tripod can be a huge help, but simply standing over your desk and being careful works just fine.
- Keep the Background Simple: Don’t lay your sketch on a busy wood-grain table or a patterned rug. Place it on a plain, neutral surface—a white desk, a clean floor, or a piece of white poster board is ideal. This makes it incredibly easy for the AI to isolate the sketch itself.
A distorted, shadowy, or blurry image is like giving the AI a set of mumbled instructions. By taking a few extra moments to create a clean digital file, you’re ensuring the AI hears your design vision loud and clear.
This whole process is about building clarity for the AI, moving from the basic structure to the finer points.

As you can see, it starts with a solid layout, then you define depth, and finally, you add the details. Each step makes the AI’s job easier and your results better.
Final Touches and File Prep
Once you have your picture, a little bit of digital housekeeping is in order. First, save the image as a JPG or a PNG. These are the most common formats and work with virtually every tool out there. As for quality, 150 DPI (dots per inch) is the absolute minimum, but I always recommend aiming for 300 DPI to capture all those important little details.
Next, a few quick edits on your phone or computer can make a world of difference. You don’t need Photoshop; your phone’s built-in editor is perfect for this.
- Crop away any of the background that you don’t need.
- Bump up the contrast to make the lines pop and the paper appear bright white.
- Adjust the brightness to make sure the entire image is perfectly lit.
These small tweaks take less than a minute but ensure your interior sketch design is perfectly prepped for a stunning AI-powered redesign. Mastering these simple digital skills is becoming more important every day, especially with the industry leaning more towards freelance and independent work. It’s a skill that pays off.
Writing AI Prompts That Bring Your Vision to Life
Your sketch gives the AI the “where,” but your prompt provides the “what.” This is where you infuse your design with personality, telling the AI exactly what style, mood, and feeling you’re aiming for. Think of yourself as the creative director; even subtle tweaks in your wording can completely change the final look.
Getting this right is an art. If you just tell the AI to “make it look nice,” you’ll get something bland and generic back. The secret is to dissect your vision into clear, descriptive components that the AI can latch onto.
The Anatomy of a Powerful AI Prompt
The best prompts aren’t single commands. They’re layered descriptions that paint a complete picture for the AI, covering everything from the overall aesthetic to the smallest details. When you give the AI this level of information, you’re guiding it toward a truly unique and personalized space.
Here’s a great way to structure your prompts:
- Define the Style: Start with the big picture. Are you after a “Scandinavian minimalist look with organic textures” or something more like an “industrial loft with vintage accents”? Naming the core aesthetic gives the AI a solid foundation to build on.
- Specify the Color Palette: “Blue” is too vague. Get specific. Try something like, “a palette of deep navy blue, crisp white, and warm cognac leather accents.” This tells the AI not just which colors, but how they should work together.
- Call Out Key Materials: Texture is everything in design. Mention the materials you want to see, like “light oak wide-plank floors, floor-to-ceiling linen curtains, and matte black metal fixtures.”
- Set the Mood: How do you want the room to feel? Use words that evoke emotion. Is it “a bright and airy living room flooded with natural morning light” or “a cozy, intimate reading corner with warm, dimmable lighting”?
A well-crafted prompt acts as a filter for the AI’s creativity. It narrows down infinite possibilities to the ones that match your specific taste, making sure the final image is a true reflection of your vision, not just a random guess.
Using Negative Prompts for Finer Control
Sometimes, telling the AI what you don’t want is just as powerful as telling it what you do. This is where negative prompts come in handy. They’re an excellent tool for weeding out elements you dislike, giving you another layer of precision.
For example, if the AI keeps generating rooms with busy wallpaper, you could add a negative prompt to fix it:
--no floral patterns, stripes, clutter
Or maybe your modern design keeps getting filled with fussy, old-fashioned furniture. A negative prompt can correct that:
--no antique furniture, ornate details, dark wood
This is a pro move for refining the output and steering the AI away from common interpretations that clash with your aesthetic.
Prompt Examples: From Sketch to Scene
Let’s put this all together. Say you’ve sketched a basic bedroom layout: a bed flanked by two nightstands, facing a large window.
Prompt A (The Vague Approach):
Modern bedroom with a large window.
The result? You’ll probably get a sterile, uninspired room that looks like it came from a stock photo catalog.
Prompt B (The Detailed Approach):
A serene, minimalist bedroom in a Scandinavian style. The color palette is muted, with soft grey walls, white trim, and light wood floors. A low-profile platform bed with crisp white linen bedding sits between two simple wooden nightstands. The large window is bare, letting in soft, diffused morning light, creating a calm and peaceful atmosphere.
Now we’re talking. The result will be a highly specific, atmospheric image that actually captures a distinct vision.
By layering these details, you turn a fuzzy idea into a clear set of instructions. This specificity is the key to transforming your simple interior sketch design into a stunning, AI-generated reality that truly feels like your own.
Common Questions About AI Interior Sketch Design
Dipping your toes into AI-powered redesign for the first time usually brings up a handful of questions, especially when you’re starting with a simple interior sketch design. This whole process bridges old-school drawing with new tech, so it’s completely normal to have some uncertainties. Let’s tackle the most common ones so you can move forward with confidence.
One of the first things people always ask is, “Just how detailed does my sketch need to be?” It’s a great question. You don’t want to spend hours on a masterpiece only to find out it was overkill—or worse, not enough. The secret is to aim for clarity, not artistry.
Your AI tool isn’t an art critic; it’s an interpreter looking for a functional blueprint. Believe it or not, simple shapes, clean lines, and clear labels work far better than a beautifully shaded, complex drawing. Your main job is to give the AI an unambiguous map of the room’s layout, the relative size of everything in it, and where permanent fixtures like windows and doors are located.
How Detailed Should My Sketch Be?
Think of your sketch as a clear set of instructions for a very literal assistant. To get the job done right, the AI just needs the fundamentals.
- Nail the layout. The first priority should be the walls, doors, and windows. Make these the most obvious features in your drawing.
- Show furniture placement and scale. You don’t need to be an artist here. Simple boxes, circles, and rectangles are perfect for representing furniture. Just make sure their sizes are proportional—the sofa should definitely look bigger than the end table.
- Label everything. This one is non-negotiable. Clearly write “window,” “sofa,” or “fireplace” and use an arrow to point directly to the object. This step alone eliminates most of the guesswork for the AI.
I’ve found that the most effective sketches are often the simplest ones. An AI can interpret a well-labeled diagram much more easily than a gorgeous but ambiguous artistic drawing. Remember, your sketch is about providing data, not decoration.
Digital Versus Hand-Drawn Sketches
Another common point of confusion is whether to go digital or stick with good old pen and paper. The truth is, both work perfectly well, as long as the file you upload is clean and clear.
Sure, using a tablet with an app like Procreate has its perks. You get perfect lines, you can easily erase mistakes, and working in layers can be a huge help.
But a simple pencil-and-paper sketch is just as powerful. The real make-or-break step is how you get it onto your computer. A sharp, well-lit photo or a flatbed scan is absolutely essential. The medium you choose is far less important than the clarity of the final image you provide. If you have more questions about how AI is changing the game in real estate, you’ll probably find some great info in these common questions about AI visualization and virtual staging.
What If The AI Misunderstands My Sketch?
It’s going to happen from time to time—that’s just part of the creative process. If an AI-generated image doesn’t quite get an element from your sketch right, don’t sweat it. Just see it as a signal to give it a little more guidance.
First, take a quick look back at your sketch. Is the object in question drawn clearly? Is it labeled? A quick tweak to the drawing might be all it takes. More often than not, though, the fix is in your text prompt. For example, if the AI turns your tall bookshelf into a window, refining your prompt will almost certainly solve it. Try something more explicit, like: “A modern living room with a tall, dark wood bookshelf against the back wall.” Marrying a clean sketch with a descriptive prompt is the real secret to getting the results you’re after.
Ready to see how a simple sketch can blossom into a stunning design? With RoomGenius, you can upload your interior sketch design and watch AI bring your vision to life in seconds. Stop guessing and start visualizing. Give it a try now at https://www.room-genius.com.