How to Redecorate a Room A Practical Guide to a Fresh Start
Redecorating a room is so much more than just picking out new stuff. It all starts with a clear vision and a solid, practical plan. Before you even think about paint swatches or furniture, you need to nail down the purpose of the room, gather inspiration, and get a feel for the space you want to create.
Getting this initial planning stage right is, without a doubt, the most important step. It’s what ensures the final result is a room you’ll actually love and use.
To get a quick overview of what’s involved, let’s look at the foundational pillars of any successful redesign. These are the core elements that will guide you from the initial spark of an idea to a beautifully finished space.
The 5 Core Elements of a Room Redecoration
| Element | Key Objective | What to Focus On |
|---|---|---|
| Vision & Inspiration | Define the room’s purpose and emotional feel. | Functionality, mood, style preferences, creating a mood board. |
| Space & Layout | Maximize functionality and flow with a smart floor plan. | Accurate measurements, traffic patterns, focal points, furniture scale. |
| Color & Finishes | Create a cohesive and inviting atmosphere. | Paint, flooring, wallpaper, hardware, architectural details. |
| Furnishings & Textiles | Select pieces that are both beautiful and practical. | Furniture, rugs, curtains, pillows, upholstery fabrics, lighting. |
| Styling & Accessorizing | Add personality and make the space feel complete. | Art, decor objects, plants, mirrors, personal mementos. |
Thinking through these five areas will help you build a comprehensive plan, making sure no detail is overlooked as you move forward.
Finding Your Vision Before You Start
That initial spark of excitement to redo a room is the best part! But jumping in without a clear direction is a classic mistake that often leads to a disjointed space that just feels… off. The real first step in learning how to redecorate a room isn’t picking paint colors; it’s figuring out the why.
Before you move a single thing, take some time to really think about what’s not working now and what you need the new space to do for you. This is all about creating a North Star for your project—a clear vision that will guide every single decision you make from here on out.
Define the Room’s Function and Feeling
Let’s get practical. Start by asking yourself some key questions. Is your living room supposed to be a cozy family hangout spot during the day but also work for entertaining guests at night? Does your bedroom need to pull double duty as a quiet, focused home office? Getting crystal clear on its primary (and secondary) functions will save you a lot of design headaches later.
Once you know what the room needs to do, think about how you want it to feel. Calm and serene? Or maybe vibrant and energetic? Jot down three to five keywords that capture that vibe, like “cozy, warm, rustic” or “airy, modern, clean.” These words will become your personal design filter.
If you’re having trouble pinning down your style, that’s totally normal. Our guide on how to find my decorating style is a fantastic place to start figuring out what you truly love.
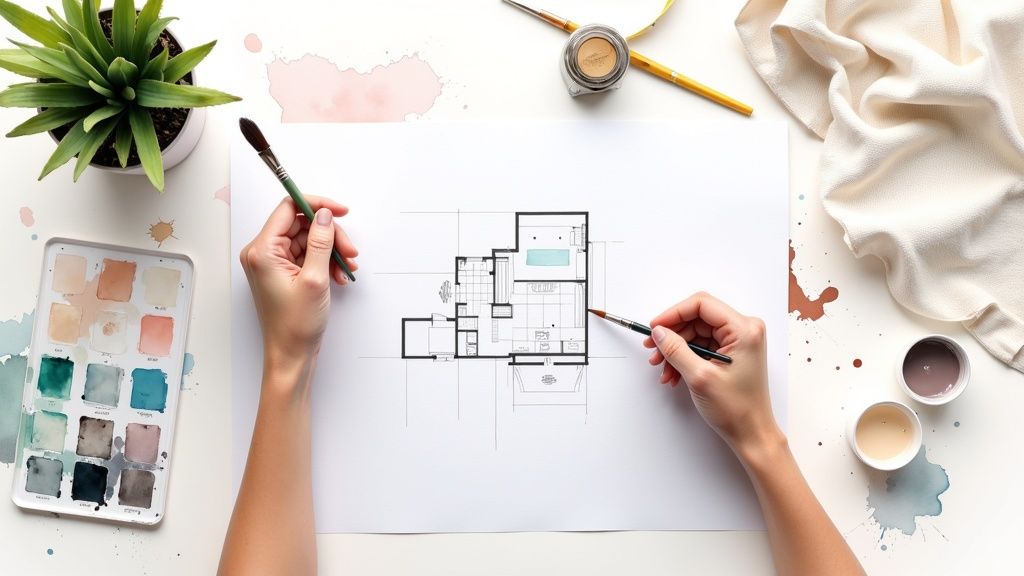
Gather Inspiration and Create a Mood Board
Okay, now for the fun part. Start collecting images that click with the function and feeling you just defined. Don’t just scroll through social media—look everywhere! Inspiration can come from a boutique hotel you loved, your favorite coffee shop, or even a scene from a movie. The idea is to gather a wide range of ideas that really speak to you.
Pull all these images together on a physical or digital mood board. This is such a crucial tool for turning those abstract ideas into a concrete visual plan. As you start arranging photos of furniture, color palettes, textures, and lighting, you’ll see a cohesive theme start to take shape.
This isn’t just about making a collage of pretty pictures; it’s a real-world reference point that will keep your design choices consistent and on track. And when it comes time to paint, this visual guide will be your best friend. For a truly professional look, learning how to prep walls for painting like a pro is a non-negotiable step that makes all the difference.
Nailing Down Your Budget and Timeline
Alright, you’ve got a vision board packed with gorgeous ideas. Now comes the part that grounds all that inspiration in reality: the budget and the timeline. Let’s be honest, this is where a dream project can turn into a source of major stress if you don’t get it right. But think of it this way—a solid plan doesn’t limit your creativity; it empowers you to make smart, confident choices.
Getting a handle on the numbers is probably the most crucial skill in redecorating. It’s not about having a bottomless bank account, but about making every dollar count. Too many people either lowball the costs or forget to plan for those little “oops” moments, and that’s where things go off the rails.
How to Break Down Your Redecorating Budget
First things first, let’s talk about where the money goes. Your budget isn’t just one big number; it’s a bunch of smaller costs that all add up. I always recommend a simple spreadsheet to keep track of everything. Make columns for the item, your estimated cost, the actual cost, and a spot for notes.
Start by listing out the big-ticket items. These are the workhorses of your room and will naturally take the biggest bite out of your budget.
- Furniture: Your sofa, bed, dining table, and major storage pieces.
- Surfaces: This covers paint, wallpaper, new flooring, or that perfect area rug.
- Window Treatments: Curtains, blinds, and shades can make a huge impact.
- Lighting: Key fixtures like pendants, chandeliers, or even a great floor lamp.
Now, let’s account for all the smaller details that truly finish a space.
- Textiles: Think pillows, throws, and new bedding.
- Accessories & Art: Vases, picture frames, mirrors, and anything you hang on the walls.
- Labor: Are you hiring a painter, an electrician, or just someone to assemble that flat-pack wardrobe? Don’t forget to budget for their time.
And here’s a pro tip: always, always add a contingency fund. Set aside an extra 10-15% of your total budget for the unexpected. That buffer will be a lifesaver when you realize you need another gallon of paint or you find a lamp that’s just a little over budget but absolutely perfect.
A well-planned budget isn’t about restriction; it’s about empowerment. Knowing exactly where your money is going allows you to spend confidently on the things that matter most to you, preventing financial stress down the line.
Knowing Where to Splurge and Where to Save
Here’s the secret to getting a high-end look without a high-end price tag: spend your money strategically. Not every item in the room needs to be a top-of-the-line investment.
You should absolutely splurge on the things you use every single day. A high-quality sofa, a truly comfortable mattress, or a solid dining table will pay you back in durability and comfort for years to come. These are the foundational pieces that anchor your design.
On the flip side, you can save on items that are more decorative or trend-driven. Things like accent pillows, side tables, accessories, and even some artwork can be found at great prices without cheapening the look of your room. This approach lets you build a room with staying power while still having fun with current styles.
The global interior design market, valued at USD 137.9 billion in 2024, is always growing. This is great for us because it means more choices at every price point, but it also means you have to be a savvy shopper. Keeping an eye on interior design market trends can help you understand how pricing might shift and where you can find the best value.
Mapping Out a Realistic Project Timeline
With your budget locked in, the last piece of the puzzle is the timeline. A clear schedule keeps the project from dragging on forever and helps everyone involved know what to expect. Just break the process down into logical phases.
- Prep Work (1-2 days): This is all about clearing the canvas. Empty the room, give it a deep clean, and patch any holes or scuffs on the walls.
- Painting & Flooring (2-4 days): Get the messiest jobs done first while the room is empty. This is the time for painting, wallpapering, or installing new floors.
- Big Furniture Assembly (1 day): Now you can bring in the heavy hitters. Build the bed, assemble the sofa, and put together any large shelving units.
- Lighting & Window Treatments (1 day): Time to install new light fixtures and get those curtains or blinds hung.
- Arrangement & Styling (1-2 days): This is the fun part! Place the smaller furniture, roll out the rug, hang your art, and start arranging all the decorative accessories that make the space feel like you.
Of course, this is just a guide. Your project might be quicker or take a bit longer depending on how complex it is and how much time you can dedicate to it. The key is to have a sequence of events to follow so you keep making progress toward that beautiful, finished room you’ve been dreaming of.
2. Nailing the Layout, Color, and Lighting
Alright, you’ve got your big-picture vision and a plan of attack. Now for the fun part: making it real. This is where we move from dreams and Pinterest boards to the nuts and bolts of your actual room—the layout, the colors, and the lighting. Getting these three things right is the secret sauce to a space that not only looks incredible but also just works for your daily life.
Before you buy a single thing, you have to get to know your room’s bones. I’m talking about its size, its shape, and any little quirks it might have. The first, most critical step is figuring out how to plan your room layout effectively for a functional space. And that means it’s time to break out the tape measure.
Get Your Measurements and Floor Plan Dialed In
Seriously, don’t just guess. Precise measurements are the foundation of a good design. Grab a tape measure and get the numbers for everything: the room’s length and width, ceiling height, and the dimensions of every door and window. Don’t forget to note where they are, like how far a window is from the nearest corner.
Once you have those numbers, sketch out a simple floor plan. You can do this with good old-fashioned graph paper or use a free digital tool. This bird’s-eye view is your playground. It lets you test out different furniture arrangements without throwing your back out, helping you visualize traffic patterns and make sure you leave enough room to walk. A good rule of thumb is to keep at least 30-36 inches clear for your main pathways.
This process is what designers call space planning. If you want to go deeper and really understand how to create a layout that flows, our guide on what is space planning is a great resource.
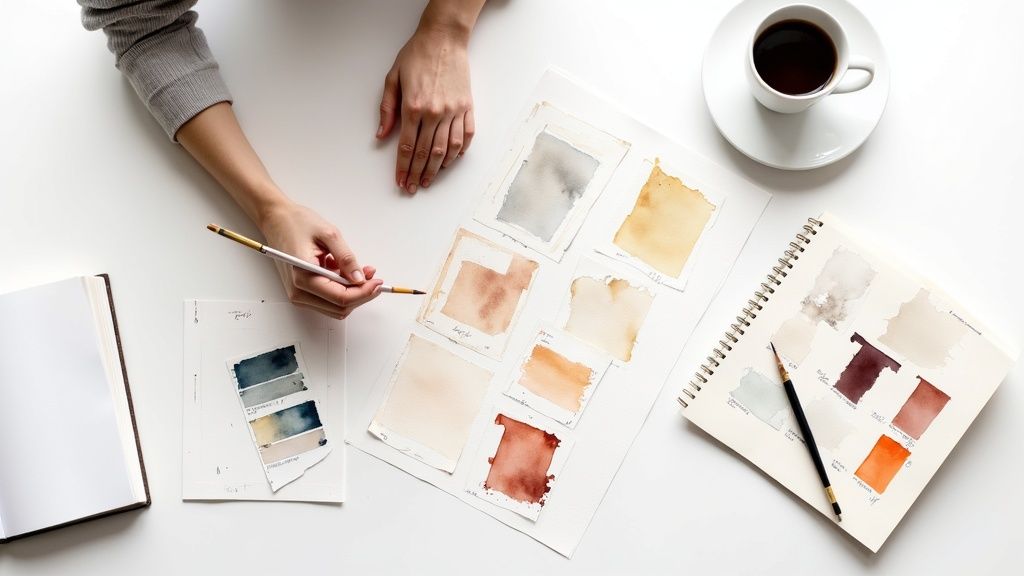
Choosing a Color Palette That Feels Right
Color has the power to completely change the vibe of a room. It’s tempting to jump on the latest trend, but for a look that lasts, build a palette that truly reflects the mood you want to create. A tried-and-true method I always come back to is the 60-30-10 rule.
- 60% is your dominant color. This is the main event, usually the color you’ll put on the walls. It sets the stage for everything else.
- 30% is your secondary color. Think of this as the supporting actor. You’ll see it in larger pieces like furniture, curtains, or maybe an accent wall.
- 10% is your accent color. These are the fun little pops of color that bring personality to the space, found in things like throw pillows, art, and decor.
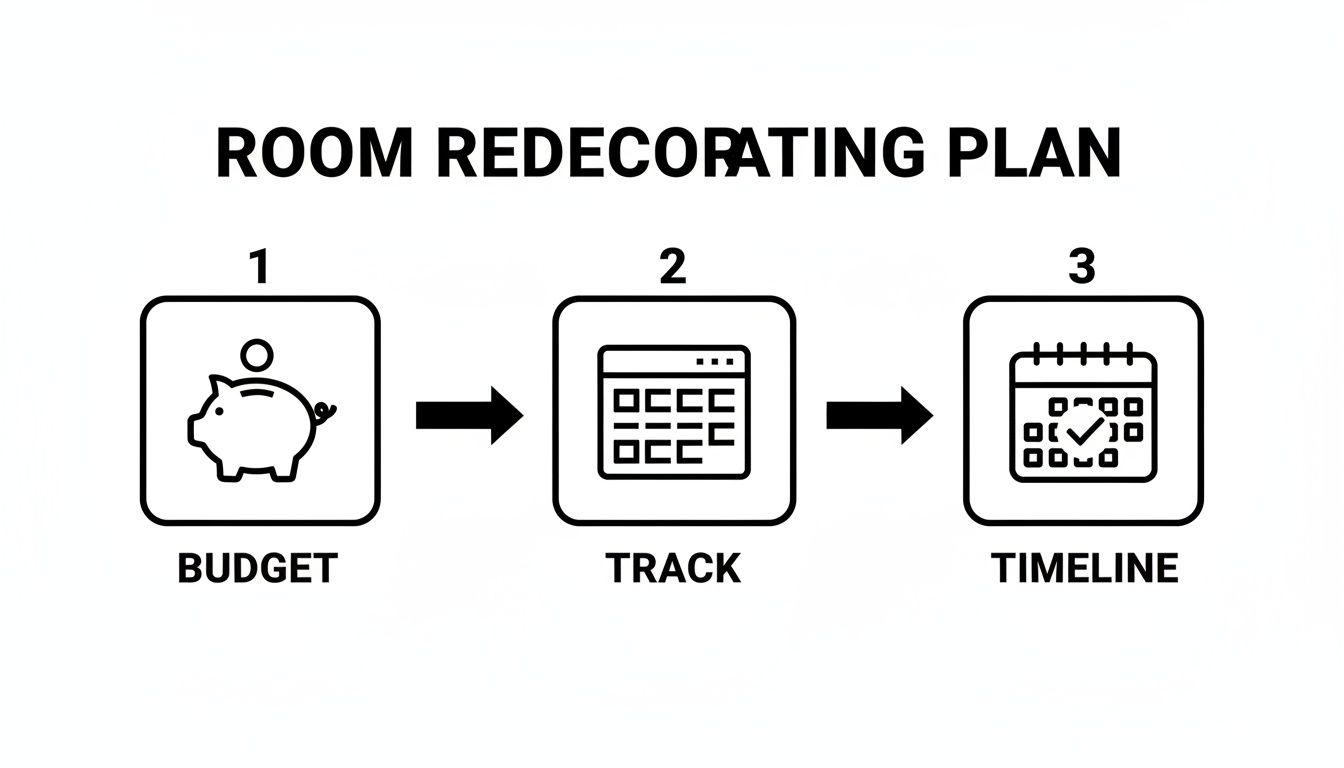
As you’re thinking about your plan, remember that a solid budget, careful tracking, and a realistic timeline are what make all the creative decisions possible.
Layering Light for Ambiance and Function
Lighting is so often overlooked, but it’s what gives a room its soul. A great lighting plan isn’t about one single fixture; it’s about using multiple sources together. We call this layered lighting, and it involves three key types.
- Ambient Lighting: This is your room’s main source of light, the general illumination that lets you see and move around safely. Think chandeliers, flush-mount ceiling lights, or recessed lighting.
- Task Lighting: This is targeted light for getting things done. It’s the reading lamp next to your favorite armchair, the under-cabinet lights in your kitchen, or the lamp on your desk. It’s all about function.
- Accent Lighting: This is the dramatic layer. It’s used to highlight the things you love, like a piece of art, a cool architectural feature, or a beautiful plant. Picture lights and track lighting are perfect examples.
By mixing all three, you create a space that’s as flexible as it is beautiful. You can dial it up when you need to focus or dim it down for a cozy, relaxing evening. Pro tip: Put as many lights as you can on dimmer switches. You’ll thank me later.
4. Choosing Furniture That Fits Your Life and Style
Okay, your layout is mapped out and your colors are chosen. Now for the fun part: bringing the room to life with furniture. This is where it all comes together. Furniture is the heart of any room; it’s what turns a beautifully painted box into a place you can actually live in. The real art is finding that perfect sweet spot between style, comfort, and how you really use the space day-to-day.
This isn’t just about filling empty corners. It’s about hand-picking pieces that support your lifestyle and broadcast your personality. The goal is to create a space that feels thoughtfully curated by you, not just lifted from a catalog page.
Start With Your Anchor Piece
Every well-designed room has a star of the show. In the design world, we call this the anchor piece. It’s the largest, most dominant piece of furniture in the room, and it sets the stage for everything else.
In a living room, this is almost always the sofa. For a bedroom, it’s the bed. In a dining room, you guessed it—the table. My advice? Don’t even glance at accent chairs or side tables until you’ve locked in your anchor.
Getting this one piece right makes all subsequent decisions so much easier. Its style will guide your other choices, and its sheer size will dictate the flow and layout of the entire room. Once that foundation is in place, the rest of the puzzle just falls into place.
By choosing your sofa or bed first, you create an instant focal point and a clear reference for scale. This simple “hero first” approach makes the rest of the room’s design fall into place much more naturally.
Get the Scale and Proportions Right
One of the most frequent mistakes I see is furniture that’s just the wrong size for the room. A massive, overstuffed sofa can absolutely devour a small living room, making it feel cramped and claustrophobic. On the flip side, a tiny loveseat will look completely lost and out of place in a large, open-concept space.
Before you get attached to a specific piece, go back to your floor plan. A fantastic trick is to use painter’s tape on the floor to mark out the exact dimensions of a potential sofa or table. This gives you a tangible sense of its footprint and how it will affect traffic flow. You’ll see immediately if it blocks a doorway or makes a key pathway too tight.
And don’t forget about vertical space! A tall, slender bookshelf can draw the eye upward, giving the illusion of height in a room with lower ceilings. In contrast, low-profile furniture can make a space feel more open and airy. It’s all about creating that perfect visual balance.
Mix It Up for a Collected, Personal Look
Unless you’re aiming for a very specific, minimalist aesthetic, please resist the urge to buy a complete matching furniture set. A room where the coffee table, end tables, and media console are all from the same collection can feel sterile and a little boring. The most inviting and interesting spaces look like they’ve been carefully collected over time.
Don’t be afraid to mix things up. Try pairing a sleek, modern sofa with a vintage, ornate coffee table. Or place a rustic wooden bench at the foot of an elegant upholstered bed. The secret to making this work is to find a common thread that ties the different pieces together.
This unifying element could be:
- Color: Different pieces might share a similar color or tone.
- Material: You could repeat a specific wood finish or metal, like brass, throughout the room.
- Shape: The gentle curves of your sofa might be echoed in the legs of a nearby accent chair.
This curated approach is what gives a room its unique personality and depth. For more inspiration on blending different design eras, check out our guide to furniture types and styles.
Plan Your Placement for Natural Flow
Once the delivery truck leaves, placement becomes paramount. How you arrange your furniture directly impacts how you move through and interact with the space. The objective is a layout that’s both functional and welcoming.
In a living room, try pulling your sofa and chairs away from the walls. “Floating” your furniture like this creates a more intimate and conversational zone. A great rule of thumb is to place seating no more than 8 feet apart so people can talk without shouting.
And always, always ensure you have clear pathways. People should be able to walk through the room without having to sidestep a coffee table or squeeze past a chair. As we touched on earlier, leaving 30-36 inches for main walkways is a solid standard. This kind of thoughtful placement makes your room feel more organized, spacious, and just plain easier to live in.
Adding Personality with Accessories and Textures
Okay, the heavy lifting is done. Your main furniture is in place, and the room has a solid functional core. Now for the best part—making the space truly yours. This is where accessories, textiles, and art come in to transform a well-designed room into a place that feels like home.
These final layers are what tell your story. They’re the chunky knit throw you instinctively reach for on a chilly evening, the piece of art that makes you smile every time you see it, and the curated collection of objects on a shelf that bring back fond memories. We’re moving beyond mere function and into creating a feeling.
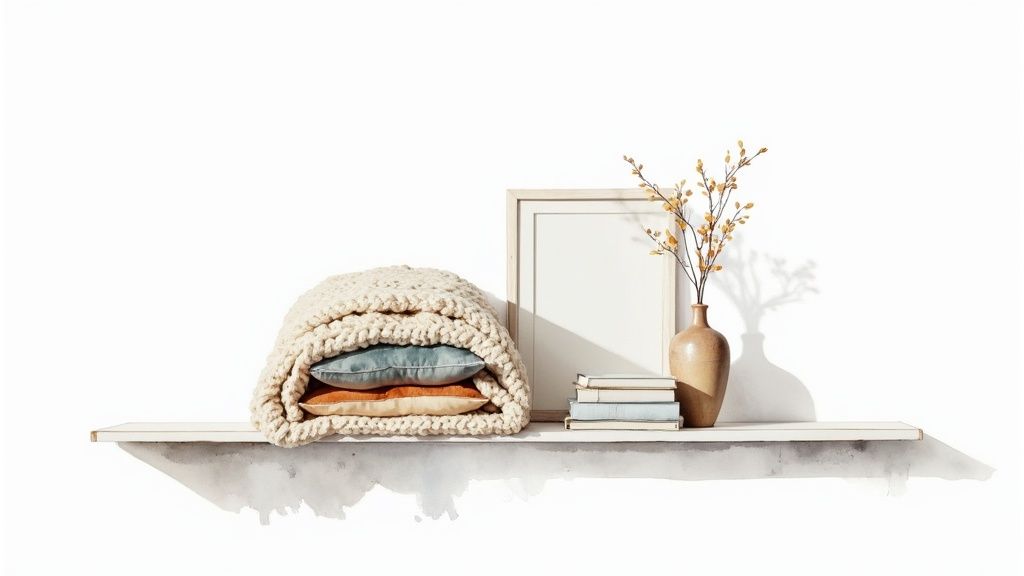
Weave in Warmth with Textiles
One of the fastest ways to add depth and comfort is by layering in different textiles. A room filled with only hard surfaces can feel sterile and unwelcoming, no matter how beautiful the furniture is. Textures are your secret weapon for creating that cozy, lived-in vibe.
Think about introducing a variety of materials that are just begging to be touched.
- Pillows and Throws: Resist the urge to buy the matching set that came with the sofa. Instead, create interest by mixing a plush velvet pillow with a casual linen one, or draping a hefty wool throw over a sleek leather chair. It’s the contrast that catches the eye.
- Rugs: An area rug is an absolute must for anchoring a seating arrangement. A high-pile shag rug can add a touch of luxury and incredible softness underfoot, while something like a jute or sisal rug brings in a more earthy, organic texture.
- Curtains: Drapes aren’t just for privacy. They’re essential for softening the hard lines of a window frame. Billowy linen curtains can make a room feel light and airy, whereas heavy velvet drapes introduce a sense of drama and elegance.
Master the Art of the Vignette
Think of your bookshelves, console tables, and mantelpieces as mini-stages for your personality. The problem is, just plonking down random items can quickly veer into clutter territory. The trick is to create intentional groupings, or vignettes, that tell a cohesive little story.
A simple guideline to get started is the “rule of three”—grouping objects in odd numbers just tends to look better. Try to combine items with different heights, shapes, and orientations to build a dynamic display. For instance, you could pair a tall, slender vase with a short stack of books and a small, interesting sculptural object.
Don’t forget to mix textures here, too—think smooth ceramic next to rough-hewn wood or a glint of shiny metal. This thoughtful curation is what separates a beautifully styled shelf from one that just looks messy.
Styling isn’t about filling every single empty space. It’s about being deliberate. A few well-chosen, meaningful objects will always make a bigger impact than a dozen generic trinkets. You’re aiming for a collected look, not a cluttered one.
Hang Artwork Like a Pro
Art is deeply personal, but how you hang it can make or break its impact. The single most common mistake I see is hanging art way too high. As a rule of thumb, the center of the artwork should be at eye level, which for most people is somewhere between 57 and 60 inches from the floor.
When hanging a piece above furniture, like a sofa or a headboard, it needs to feel connected to what’s below it. Aim for the bottom of the frame to be about 6-8 inches above the furniture. Scale is also key; the art (or a gallery wall grouping) should be about two-thirds the width of the furniture beneath it to feel properly balanced. Getting the placement right is what makes a piece of art truly sing in a room.
Your Top Redecorating Questions, Answered
Even the most carefully planned redecorating project comes with its fair share of questions. It’s totally normal. From nagging design dilemmas to last-minute budget worries, hitting a few roadblocks is just part of the process.
Let’s walk through some of the most common questions that pop up, so you can tackle them with confidence and keep your project moving forward.
Where Do I Even Begin If I Have No Idea What I Want?
Staring at a blank slate can feel paralyzing. When you’re overwhelmed with options, the best move is to stop thinking about style and start thinking about function.
Instead of asking yourself, “What’s my aesthetic?” ask, “What do I need this room to do for me?” Does your living room need to be a cozy spot for movie nights, a durable play area for the kids, and a decent backdrop for video calls? Make a list. Pinpointing the room’s core purpose gives you a practical filter, making it so much easier to find inspiration that actually works for your life.
Should I Paint the Walls or Buy the Furniture First?
Ah, the classic chicken-or-egg decorating debate. But in my experience, there’s a clear winner: get your main furniture pieces first.
It is a million times easier to find a paint color that looks amazing with a sofa you’ve fallen in love with than it is to find the perfect sofa to match a wall color you’ve already committed to. Think about it—there are thousands upon thousands of paint swatches, but your options for that dream sectional or dining set are much more limited. Secure your big-ticket items first, then pick your paint. It’s a surefire way to avoid a lot of stress.
Pro Tip: Your sofa and area rug are the true anchors of your room’s color scheme. Once you have them, you can pull accent colors directly from their patterns and textures for a perfectly cohesive look on your walls.
What’s the Biggest Mistake People Make When Redecorating?
Hands down, the most common misstep I see is getting the scale wrong. This is when furniture is either way too big or way too small for the room, which throws the whole vibe off balance. A giant, overstuffed sofa will make a small room feel claustrophobic, while dinky furniture can get lost in a large, open-plan space, making it feel cold and empty.
Always, always measure your room and the furniture you’re considering. A great trick is to use painter’s tape to mark out the dimensions of a new sofa or table on the floor. This helps you visualize not only how much space it takes up but, more importantly, how you’ll be able to walk around it.
How Much Should I Realistically Budget for This?
Budgeting is deeply personal, but it pays to be realistic about today’s costs. The interior design market has seen steady growth, with forecasts predicting annual increases of around 4–4.6%. This means a full room makeover costs more today than it did a few years ago, thanks to inflation and higher costs for materials and labor. For a deep dive into the numbers, you can explore detailed interior design market analysis on Renub Research.
A smart way to start is by listing every single thing you need to buy. Research the costs, add them up, and then—this is the important part—add a 15-20% contingency fund. That extra cushion is your safety net for unexpected shipping fees, another gallon of paint, or that one-of-a-kind lamp you just can’t live without.
Feeling inspired but a little stuck on how to pull it all together? That’s where RoomGenius comes in. Our AI platform helps you visualize your room’s potential in seconds. Just upload a photo of your space to get stunning design concepts and discover furniture that perfectly fits your new style. Take the guesswork out of decorating and start designing your dream room today at https://www.room-genius.com.