How to Read Floor Plans A Beginner's Guide

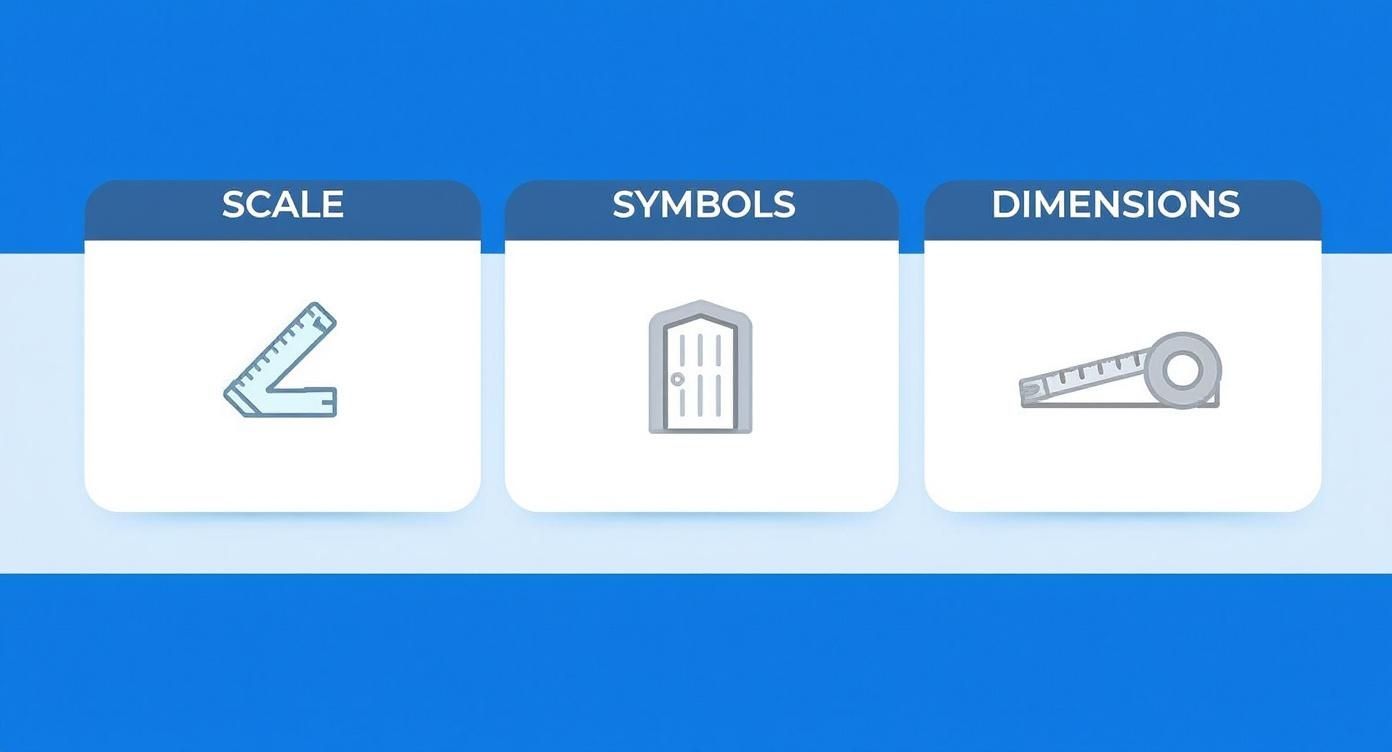
Learning how to read a floor plan is really just about translating a bunch of lines and symbols into a physical space. It all boils down to three key skills: getting a feel for the scale, recognizing the standard symbols, and understanding the dimensions.
Your First Look at a Floor Plan
Jumping into an architectural drawing for the first time can feel like you’re trying to decipher a secret code. But at its core, a floor plan is just a diagram from a bird’s-eye view—imagine you’ve lifted the roof off a house and are peering straight down.
Think of it like looking into a dollhouse. This top-down perspective shows you the layout of the rooms, how they all connect, and gives you a real sense of the property’s flow.
Getting comfortable with this basic idea is the first big step. Before you get lost in all the symbols and numbers, it’s a good idea to start with understanding the basics of a floor plan. This foundation is gold whether you’re buying a home, planning a reno with a tool like RoomGenius, or just trying to figure out if that dream sofa will actually fit through the door.
The Three Pillars of a Floor Plan
Every single floor plan, from a quick sketch on a real estate listing to a full-blown construction document, is built on three fundamental elements. If you can get a handle on these, you’ll be able to make sense of almost any layout you come across.
- Scale: This is the magic ratio that connects the drawing to the real world. A very common scale is 1/4” = 1’-0”, which just means every quarter-inch on the paper represents one full foot in the actual room.
- Symbols: These are the universal shorthand for architectural features. A curved arc shows which way a door swings, a break in a thick wall with a few thin lines is a window, and you’ll often see dotted lines for things you can’t see from above, like upper kitchen cabinets.
- Dimensions: These are the numbers written right on the plan that give you the exact measurements. You’ll see them telling you the length of a wall or the size of a room, usually written as width by length (like 12’ x 16’).
This whole visual system is designed to be super clear. Architects use what we call “dimension strings”—those lines with little tick marks—to spell out the precise lengths of walls, windows, and doorways. This makes sure everyone, from the designer to the builder, is working from the same script and helps avoid expensive mistakes down the line. You can see more about how blueprints communicate project specifics on HousePlans.com.
Here’s a little tip I always give beginners: find the front door on the plan and mentally “walk” through the space. Follow the hallways, enter each room, and see how it feels. This simple trick helps you get a gut feeling for the flow and you’ll start to notice practical things, like how far you’d have to lug groceries from the garage to the kitchen.
Decoding the Language of Floor Plan Symbols
If scale and dimensions are the grammar of a floor plan, then the symbols are its vocabulary. These little icons are the shorthand architects and designers use to communicate everything from the swing of a door to the location of a structural wall. Once you learn to recognize a few key symbols, the entire drawing starts to click into place.
Think of it this way: every line and shape tells a story about how the space is built and how you can live in it.
Let’s break down the most common symbols you’ll encounter and what they mean for your space.
Understanding Walls, Doors, and Windows
The most basic—and most important—symbols on any plan are the ones that define the structure itself. Getting these right is fundamental.
Walls are the most dominant feature, but you need to pay close attention to the line thickness.
- Structural Walls: These are shown as thick, solid, or filled-in lines. They’re the backbone of the building, supporting the weight of the structure above. You can’t just knock these down on a whim.
- Partition Walls: Drawn with thinner lines, these are the interior walls that simply carve out different rooms. They typically aren’t load-bearing, which means they can often be moved or removed during a renovation to create an open-plan living area.
Spotting this difference is absolutely critical if you’re thinking about any kind of remodel. A misstep here can be a very expensive and dangerous mistake.
Doors and windows are represented by symbols that show not only their location but also how they function—a crucial detail for planning furniture placement and how you’ll move through a room.
A swinging door is shown as a line perpendicular to the wall, with an arc showing which way it swings. That arc is your no-go zone; it shows the clearance space the door needs to open fully. You can’t put a bookshelf there!
Windows typically look like a break in the wall, often with a few thin lines inside to represent the glass and frame. The symbol might vary slightly for a bay window versus a simple casement window, but the general idea is a transparent opening in the wall.
Quick Reference: Common Symbols
To help you get started, here’s a quick guide to some of the most common architectural symbols you’ll find on a floor plan.
| Element | Symbol Description | What It Represents |
|---|---|---|
| Structural Wall | A thick, solid, or shaded line. | A load-bearing wall that is essential to the building’s structure. |
| Partition Wall | A thinner, non-shaded line. | An interior wall that divides spaces but does not carry a structural load. |
| Swinging Door | A straight line with an arc. | A standard hinged door. The arc indicates the swing direction and clearance needed. |
| Sliding Door | Two or more overlapping thin rectangles. | A door that slides open along a track, often used for closets or patios. |
| Pocket Door | A single thin rectangle that disappears into a thickened wall section. | A door that slides into a cavity in the wall, saving floor space. |
| Window | A break in the wall, often with thin parallel lines representing glass. | An opening in the wall for light and air. |
| Stairs | A series of parallel rectangles with an arrow indicating direction (up or down). | The location and direction of a staircase. |
This table covers the basics, but you’ll always want to double-check the plan’s specific key for any variations.
The Legend: Your Floor Plan’s Dictionary
Every good floor plan has a legend or key. It’s usually a small box tucked into a corner of the drawing, and it is your single most important tool for interpretation.
Pro Tip: Always find the legend first. It’s the official decoder ring for that specific drawing. Never assume a symbol on one plan means the same thing on another—architects can have their own unique shorthand.
The legend translates everything for you. It will define the symbols for electrical outlets, light switches, and plumbing fixtures. It will also clarify abbreviations you might see, like W/D for a washer/dryer hookup or W.I.C. for a walk-in closet. Making a habit of checking the legend before you even start looking at the layout will save you a world of confusion and prevent you from making bad assumptions.
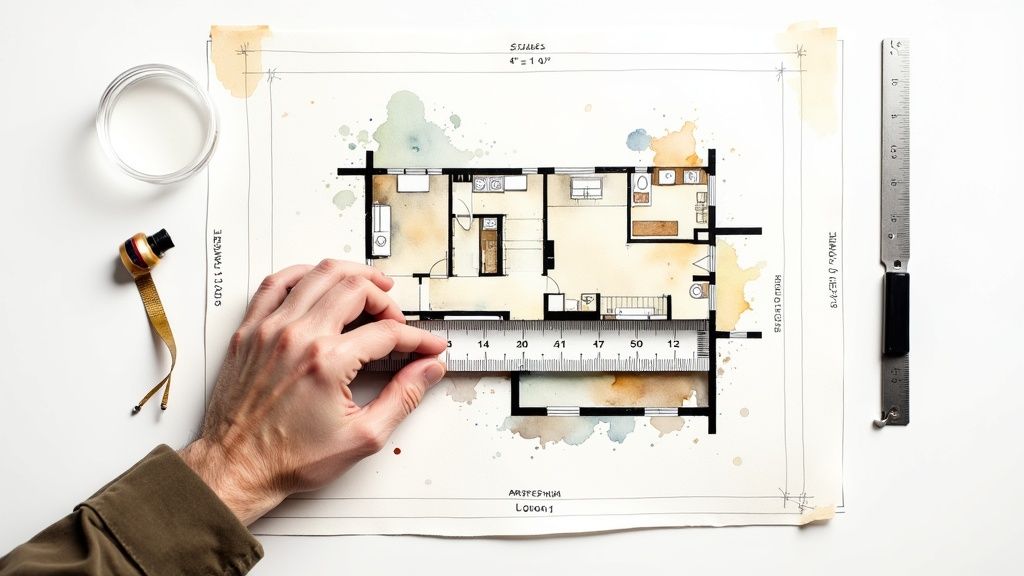
Getting a Real-World Feel for Scale and Dimensions
A floor plan is more than just a sketch; it’s a map of a physical space. But without understanding scale and dimensions, it’s like a map with no legend—just a jumble of lines and boxes. This is where you learn to translate that drawing into a tangible, real-world room, giving you a true sense of its potential.
This is the skill that stops you from making those classic design mistakes, like falling in love with a giant sectional sofa only to discover it swallows your entire living room. When you master measurements, you make sure your vision and reality are on the same page from the start.
Understanding Architectural Scale
The scale is the key that unlocks the entire floor plan. You’ll usually find it printed near the title block, and it tells you the exact relationship between the drawing and the actual building.
In the United States, a very common scale for residential plans is 1/4” = 1’-0”. All this means is that every quarter-inch you measure on the paper equals one foot in the real room. So, if you take a ruler and measure a wall that’s one inch long on the drawing, you know that wall is actually four feet long. Simple as that.
A Quick Tip: You don’t need a special architect’s scale to do this. A regular ruler works just fine. If the scale is 1/4” = 1’-0”, just count every 1/4-inch mark as one foot. A line measuring 3.5 inches on your ruler would be 14 feet long in the room (3.5 ÷ 0.25 = 14).
Once you get the hang of this, you can measure anything. You can check the width of a hallway, see how much space is between the kitchen island and the stove, and get a real feel for how the space will flow before you ever step inside.
What to Do with Dimension Strings
While scale lets you measure unmarked areas, dimension strings give you the exact, hard numbers for important features. These are the thin lines with tick marks or arrows at the end that run parallel to walls and other elements, with the measurement written right on them.
Let’s say you’re looking at a wall with a window. You’ll likely see a dimension string running alongside it broken into three parts:
- 3’-0”: The space from the corner to the window’s edge.
- 5’-0”: The actual width of the window opening.
- 3’-0”: The space from the other side of the window to the next corner.
Add them up (3 + 5 + 3), and you’ve confirmed the total wall is 11 feet long. Architects use these to eliminate guesswork, providing the precise measurements needed for both construction and interior planning.
Interior vs. Exterior Dimensions
As you look over a complete floor plan, you might notice several layers of these dimension strings. It’s important to know which one you’re reading.
- Exterior Dimensions: These are the outermost lines on the plan and measure the building’s overall footprint. They usually measure to the outside of the walls, including siding and framing.
- Interior Dimensions: These are the measurements you find inside the rooms. They tell you the actual, usable space you have to work with—from the surface of one wall to the surface of another.
This is a critical distinction. A room labeled as 12’ x 14’ is telling you its interior, livable dimensions. But if you were to measure that same room from the outside, it might be closer to 13’ x 15’ after accounting for wall thickness. When you’re planning where your furniture will go, always stick to the interior dimensions.
Learning to read these numbers confidently is a huge advantage, especially if you start sketching your own layouts. For anyone ready to take that next step, our guide on how to create floor plans offers practical advice for drawing your own space accurately. Combining that skill with reading professional plans puts you in complete control of your design.
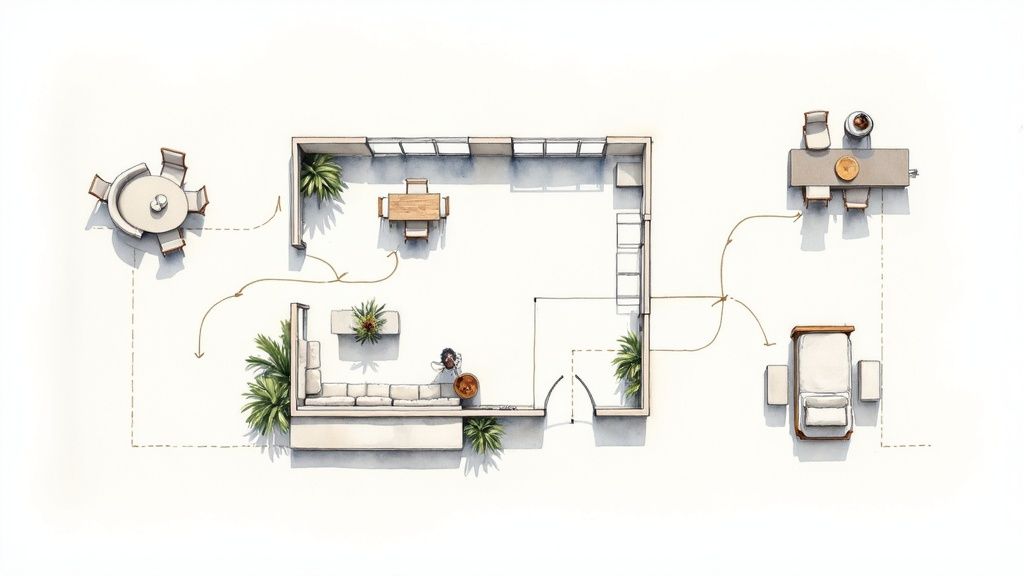
Analyzing Room Flow and Furniture Layout
Once you’ve got the symbols and dimensions down, it’s time to move on to the real magic of reading a floor plan: picturing how you’ll actually live in the space. A great layout is so much more than just big rooms; it’s about how the home supports your day-to-day life. This is where we look at circulation paths—the invisible trails you and your family will walk every single day.
A floor plan can look fantastic on paper but be an absolute nightmare in reality if the flow is clunky. A quick mental walk-through can save you from a lot of future frustration.
Trace Your Daily Paths
Put yourself in the house and imagine a typical day. Start from where you’d enter, like the garage or front door, and “walk” through the tasks you perform most often.
- The Grocery Run: Imagine carrying in bags of groceries. Is it a straight shot from the car to the kitchen pantry and fridge, or a long, awkward journey through a formal living room?
- The Morning Rush: Picture the chaos of getting ready. Can everyone move from their bedrooms to the bathrooms and kitchen without creating a traffic jam in a narrow hallway?
- Entertaining Guests: When friends visit, where do they come in? How easily can they find the powder room without wandering past your private bedroom wing?
This simple exercise is brilliant for spotting awkward layouts and pinch points that will feel cramped once people are moving around.
Evaluate How Rooms Relate to Each Other
Beyond your own path, think about how the rooms work together. The relationship between different zones is what makes a home truly functional and comfortable. Is the dining room right next to the kitchen for easy serving, or is there a hallway separating them?
Don’t forget about noise. I’ve seen layouts that put a nursery right next to the great room’s media wall—a recipe for disaster. Ideally, you want private spaces like bedrooms buffered from the louder, public areas of the house.
A well-designed floor plan anticipates your needs. It places the laundry room near the bedrooms where most laundry is generated, not in a distant basement. It ensures the guest bathroom is accessible without forcing visitors to walk through your private office. These small details make a huge difference in daily living.
Sketch in Furniture to Test the Fit
Here’s the final, crucial test: will your stuff actually fit? An empty room on a plan can be incredibly deceptive. That bedroom might seem huge until you realize the only logical spot for the bed completely blocks the closet door.
This is where a little sketching comes in handy. Grab a copy of the floor plan, a ruler, and some paper to create scale cutouts of your key furniture pieces—your sofa, bed, dining table—and see how they fit.
- Measure your largest furniture items (e.g., a 7’ x 3’ sofa).
- Using the plan’s scale (say, 1/4” = 1’-0”), draw these pieces to scale on a separate sheet and cut them out.
- Move the cutouts around in each room to test different arrangements.
This hands-on approach shows you instantly if there’s enough room to walk around the furniture, if a door swing will be blocked, or if your dream layout is even possible. For more detailed tips, our article on how to arrange living room furniture is a great resource for tackling common challenges.
The ability to analyze flow is a vital skill, not just for homeowners but in professional settings, too. When planning an office relocation project, for instance, efficient circulation is paramount.
The demand for functional spaces has driven huge growth in visualization tools. The residential sector of the floor plan software market was valued at about $0.96 billion in 2024 and is projected to hit $1.72 billion by 2032. This trend really highlights how essential floor plan literacy is for making smart real estate and renovation decisions. You can discover more insights about the floor plan software market on Wise Guy Reports.
Bringing Floor Plans to Life with Digital Tools
Knowing how to read a 2D floor plan is a fundamental skill, but let’s be honest—it can be tough to bridge the gap between abstract lines on a page and a space you can actually live in. That’s where technology steps in. Modern digital tools are incredible for turning static blueprints into dynamic, interactive experiences that make it a thousand times easier to see a home’s real potential.
This isn’t just a niche trend; it’s a massive shift in how we approach design. The global floor plan software market was already valued at around $1.2 billion in 2023 and is on track to hit nearly $3.5 billion by 2032. This explosion is driven by our collective desire for better visualization in both homes and commercial spaces. You can dive deeper into these trends in floor plan technology on Dataintelo.com.
What this all means for you is that powerful design tools are no longer just for the pros. You can now experiment with ideas in ways that were once completely out of reach.
From a Napkin Sketch to an Interactive Model
Picture this: you have a crumpled floor plan from a real estate listing or even just a quick sketch you drew yourself. Now, imagine turning that into a fully furnished 3D model you can walk through. That’s exactly what tools like RoomGenius are built for. Instead of just trying to interpret symbols and dimensions, you can literally see the space come alive.
This tech cuts through the steepest part of the learning curve. You can just upload a photo of a plan—even a messy, hand-drawn one—and let the AI work its magic. It recognizes the room shapes, figures out the dimensions, and spits out multiple design options in a matter of seconds.
Here’s a great example of how a simple floor plan input gets transformed into a furnished, ready-to-visualize layout.
This isn’t just a wireframe; it’s a potential design with furniture, decor, and color palettes. It gives you an immediate gut-check on the room’s overall feel and scale.
Verifying Measurements in a Digital World
As cool as AI-generated visuals are, you still need to ground them in reality. A beautiful design is useless if the couch doesn’t fit. Always take a moment to cross-reference the digital model with your original source plan to ensure everything is accurate.
- Check the Big Numbers: Zero in on the main room dimensions (width x length), window widths, and the size of door openings. Do the measurements in the 3D model line up with the numbers on your 2D plan?
- Confirm Wall Thickness: Is the tool showing a difference between thick structural walls and thinner partition walls? This is a critical detail, especially if you’re planning any renovations.
- Scale Your Furniture: When you start dropping furniture into your model, use real-world dimensions. A sofa that’s off by just six inches can be the difference between a cozy fit and an awkward traffic jam.
Running through this quick checklist gives you the confidence that your digital plans will actually work in the real world.
A digital floor plan is your personal design sandbox. It lets you test out bold ideas—like removing a non-structural wall or trying a completely different kitchen layout—without any real-world risk or cost. It’s the ultimate “try before you buy” for home design.
Making Confident Decisions with AI
Ultimately, the real power of these tools is in the decisions they help you make. You can stop guessing whether a layout will work and actually see it, explore it, and tweak it until it’s perfect. For anyone trying to map out a space, a good online room layout planner becomes an absolutely essential partner.
You can finally see which furniture arrangement creates the best flow or play with different paint and flooring combinations to find what you love. For homeowners, it means moving forward on a renovation without nagging doubts. For real estate agents, it’s a game-changing way to help clients see a property’s hidden potential.
By turning a flat, boring drawing into an explorable, living space, these tools empower you to design with total certainty.
Answering Your Top Floor Plan Questions
Even after you’ve learned the basics, a few tricky spots on a floor plan can leave you scratching your head. These drawings are packed with information, and it’s easy to get tripped up by a few common details. Let’s walk through some of the questions that come up time and time again.
Think of this as your practical FAQ for decoding those confusing elements. Getting these right will give you the confidence to analyze any layout like a pro.
What’s the Biggest Mistake People Make When Reading Floor Plans?
Hands down, the most common mistake is misreading—or completely ignoring—the scale. It’s so easy to glance at a drawing and get a feeling for a room’s size based on how it looks on the page. That spacious-looking primary bedroom seems perfect, right? But then you apply the scale and realize it’s barely big enough for your queen bed and a single nightstand.
This one oversight causes major headaches. It’s how people end up with a beautiful new sofa that won’t fit through the door or sign a lease on an apartment that feels far more cramped than they imagined.
A very close second is ignoring door swings. That little arc showing which way a door opens is critical. It represents unusable floor and wall space, and forgetting about it can completely derail a great furniture arrangement.
Another classic mistake is overlooking the circulation paths—the natural walkways through a space. A plan might show huge rooms, but if they’re connected by a long, awkward hallway, the home will feel inefficient and frustrating to live in.
How Can I Tell Which Walls Are Structural?
Knowing the difference between a simple partition wall and a load-bearing one is absolutely crucial, especially if you’re dreaming of an open-concept renovation. On professional architectural drawings, this is usually spelled out pretty clearly.
- Look for Thicker Lines: Structural walls are almost always drawn with a much heavier, thicker line than the interior walls that just divide space. Sometimes, you’ll see them filled in with a dark shade or a specific cross-hatch pattern.
- Check the Legend: Your best friend is the plan’s legend or key. It should define exactly how different wall types are shown. This is your most reliable source.
- Use Context Clues: If you’re looking at a simpler real estate floor plan without a legend, you’ll have to play detective. Exterior walls are always structural. Interior walls that run right down the center of the building or are stacked directly on top of walls on the floor below are also very likely load-bearing.
But here’s the most important tip: never, ever make a final decision based on a drawing alone. Always consult a qualified structural engineer before you even think about taking a sledgehammer to a wall. Guessing wrong can compromise the integrity of the entire building.
Differentiating Between Elevation and Section Drawings
A floor plan is a fantastic top-down view, but it’s fundamentally flat. It can’t tell you anything about height. That’s where elevation and section drawings come in to provide that crucial third dimension.
An elevation drawing is a straight-on view of one wall, either inside or out. Imagine you’re standing perfectly still and looking directly at a single surface. This view is perfect for showing you things like:
- The exact placement and height of windows and doors on a wall.
- Exterior materials like brick, stone, or siding.
- The design of built-in features, such as kitchen cabinets or a fireplace mantle.
A section drawing, on the other hand, is like taking a slice right through the entire building. Picture cutting a layer cake in half and looking at the cross-section. This powerful view reveals:
- Ceiling heights and how they might vary from room to room.
- The relationship between different floors in a multi-story home.
- Hidden structural details inside the walls and floors.
Together, these drawings give you the complete picture. They answer the questions a floor plan can’t, like “How tall are the ceilings in the family room?” or “Is there enough vertical clearance to build a loft?” Getting comfortable with them is a huge step toward reading plans like a seasoned designer.
Ready to stop guessing and start visualizing? With RoomGenius, you can upload any floor plan—even a rough sketch—and see it transformed into a fully furnished 3D design in seconds. Take the mystery out of layouts and start creating your perfect space today by visiting https://www.room-genius.com.