How to Create Floor Plans Like a Pro
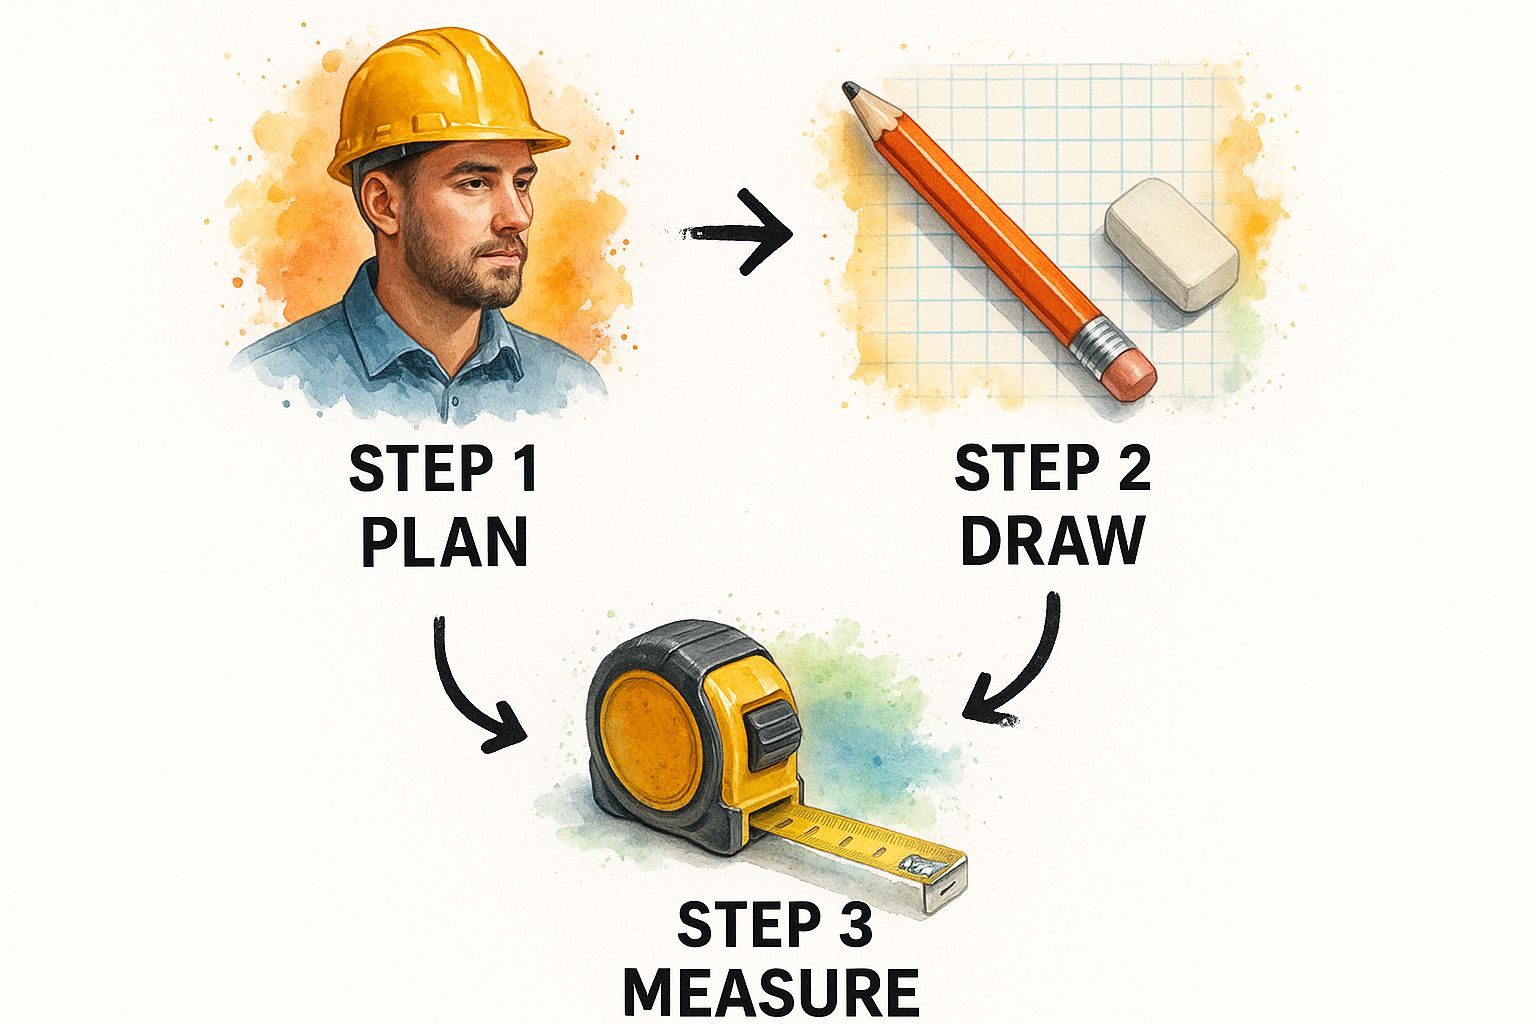
Before you ever pull out a tape measure, the single most important thing you can do is figure out why you’re making a floor plan in the first place. This isn’t just a box-ticking exercise; it’s the strategic foundation for your entire project.
A floor plan designed to help sell a house needs to show off flow and potential. One created to remodel a kitchen needs painstaking detail. Knowing your objective from the start saves a ton of headaches and ensures the final plan actually works for you.
Starting Your Floor Plan the Right Way
Think of it this way: the goal dictates the details. You wouldn’t use a sledgehammer to hang a picture frame, right? Same principle applies here.
- Planning a renovation? You’ll need to capture every single detail—walls, doors, windows, and even the exact location of electrical outlets.
- Just rearranging furniture? Your focus can be much simpler. Get the main room dimensions and the footprint of your key furniture pieces.
- Creating a real estate listing? A clean, simplified layout that highlights room flow and basic dimensions is usually what buyers want to see.
Define Your Goals and Gather Tools
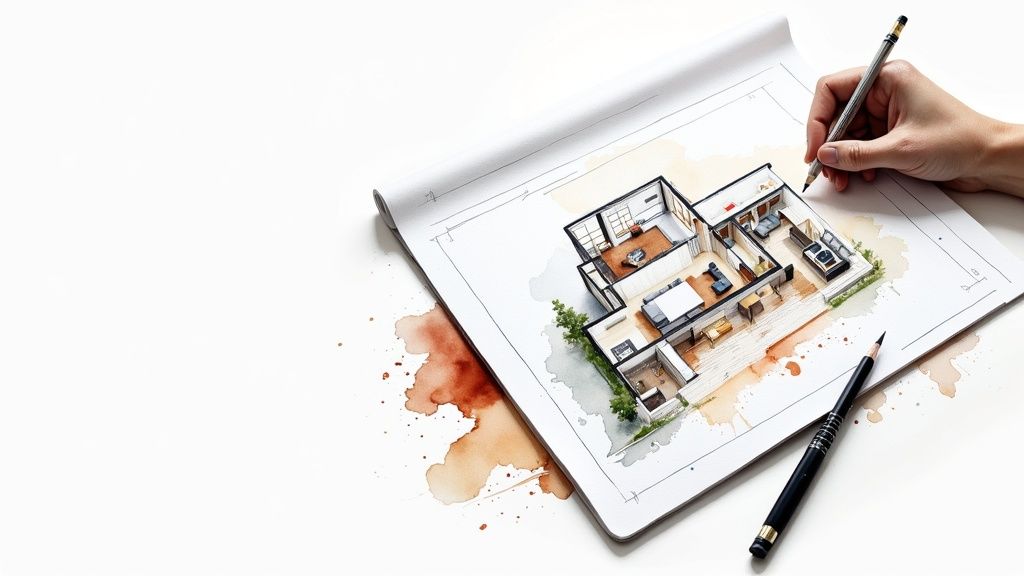
Once you have a clear purpose, it’s time to gather your tools. And no, you don’t need a bunch of expensive gear right away. The absolute non-negotiable first step is a simple hand-drawn sketch.
This rough draft is where you start to really see the space. It helps you get a feel for the flow and how different areas connect, which is a core concept in good design. We actually dive deep into this idea in our guide to what is space planning, which explains how professionals map out functional, beautiful interiors.
A great floor plan is born from clear intention, not complex software. Your initial hand-drawn sketch, no matter how rough, is the most important step in translating your vision into a practical design.
This process is about so much more than just drawing lines on paper; it’s about making smart decisions early on. Your quick sketch acts as the bridge between the room you’re standing in and the digital version you’re about to create.
Here’s a quick rundown of the gear you’ll need for both the old-school and new-school parts of the process.
Essential Toolkit for Sketching and Digital Design
| Tool Category | Manual Sketching Essentials | Digital Design Software |
|---|---|---|
| Measuring | Tape measure (25-foot), laser distance measurer | Not directly applicable, but relies on accurate inputs |
| Drawing | Graph paper, pencils, straightedge or ruler, eraser | RoomSketcher, Foyr Neo, SmartDraw |
| Notetaking | Clipboard and notepad for jotting down details | Digital notes app or integrated software features |
With a clear goal and a simple drawing in hand, you’re perfectly set up to move your ideas into a polished digital format without getting bogged down by the tech. Trust me, this prep work makes all the difference.
Mastering Accurate Space Measurement
The entire integrity of your design hinges on the numbers you gather at the very beginning. I’ve seen it happen—an error of just a few inches can mean a custom sofa that won’t fit or a kitchen layout that feels awkward and cramped. Precision isn’t just a nice-to-have; it’s the bedrock of the entire floor plan.
Think of yourself as a detective, systematically documenting the scene. I find the best approach is to pick a clear starting point, like the front door, and work your way clockwise around the room. This simple method keeps you organized and ensures you don’t accidentally miss an entire wall or a crucial feature.
The Art of Capturing Dimensions
Measuring a room is so much more than just getting the length and width. You’re trying to capture the complete story of the space. As you move, get everything down on your graph paper.
- Walls and Fixtures: Measure each individual wall segment. Be sure to note the location and size of permanent fixtures like fireplaces, support columns, or built-in shelving.
- Doors and Windows: For every opening, you need two numbers: its width and its distance from the nearest corner. For instance, a window might start 36 inches from the left corner and be 48 inches wide.
- Ceiling Height: Don’t forget to look up! Knowing the ceiling height is absolutely critical for understanding the room’s volume and planning for things like tall bookcases or hanging light fixtures.
This visual shows the basic tools you need to get the job done right, translating a physical room into an accurate sketch.
A good tape measure, some graph paper, and a pencil are all you need for on-site documentation. This is the crucial first step that connects the real space to your future digital plan.
Ensuring Accuracy and Avoiding Common Mistakes
Even with a careful, methodical approach, small errors can creep in. Here’s a professional trick I always use: take diagonal measurements. Measure from one corner of the room to the opposite corner, and then do the same for the other two corners.
If the room is a perfect rectangle, those two numbers will be identical. If they’re not, it’s a clear sign that your walls aren’t perfectly square—which is surprisingly common, even in new construction. Finding this out early helps you create a much more realistic drawing.
Pro Tip: The diagonal check is your quality control. It’s a simple, five-second step that can save you hours of frustration later by confirming the true shape of your room before you start drafting.
Another habit to get into is simply double-checking your numbers as you write them down. It’s incredibly easy to transpose digits in the moment, turning a 96-inch wall into a 69-inch one on your notepad. A quick second glance at the tape measure before you write is a habit that pays for itself.
While you’re on-site, create a rough sketch on your graph paper. Let each square represent a fixed unit, like six inches or one foot. This isn’t meant to be the final draft, but it’s a working document that helps you visualize the space and spot any glaring errors right then and there.
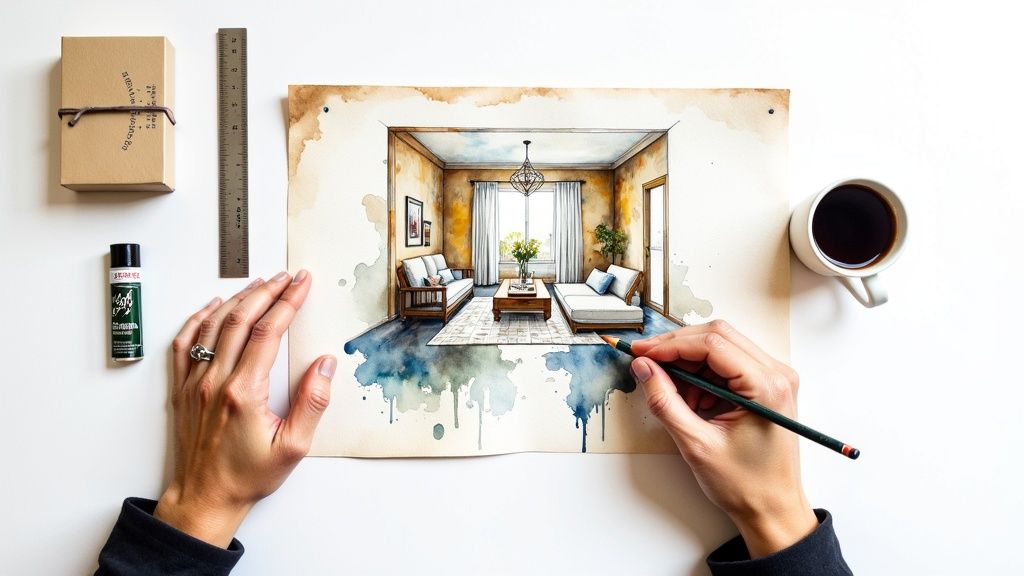
From Hand-Drawn Sketch to Digital Draft

You’ve done the hard work on-site, and now you have a detailed, hand-drawn sketch filled with measurements. The next step is where the magic happens: translating that paper-and-pencil work into a clean, professional, and easily editable digital floor plan.
Making the jump from paper to pixel might sound daunting, but it’s more accessible than ever. The market for floor plan software is exploding—it was valued at around $1.2 billion in 2023 and is on track to hit $3.5 billion by 2032. That massive growth, detailed in the latest floor plan software market analysis, means there are now fantastic tools available for everyone, from first-time homeowners to seasoned architects.
This boom gives you a huge range of options. You just need to find the right one for your project.
Choosing Your Digital Drawing Tool
The best software for you really just depends on what you’re trying to accomplish and how tech-savvy you feel. If you’re just trying to see if a new sofa will fit in your living room, you don’t need the same heavy-duty program an architect uses to design a skyscraper.
Here’s a quick look at the main types of tools out there:
- Simple Apps & Online Planners: These are perfect for homeowners and DIY projects. They usually have simple drag-and-drop controls, libraries of furniture to play with, and can often show you a 3D view of your space instantly.
- Professional-Grade CAD Software: Think AutoCAD. This is the gold standard for architects and engineers, offering incredible precision. The trade-off? A very steep learning curve and a hefty price tag.
- Hybrid Tools: These hit the sweet spot between basic apps and complex CAD programs. They offer more advanced features without being overwhelming, making them great for interior designers or serious renovators.
A good way to figure out what you need is to try out an online room layout planner to see how these tools work firsthand.
Setting Up Your Digital Canvas
Once you’ve picked your software, the first thing you need to do is set up your digital workspace. This is like getting out a fresh sheet of graph paper before you start drawing.
The most critical step here is to define the scale. You need to tell the software how to translate screen dimensions into real-world ones—for example, that one inch on your screen equals one foot in the room. If you’re working in metric, a common scale is 1:50. Getting this right from the very beginning is absolutely essential for an accurate plan.
Your digital draft is a direct translation of your physical measurements. Tools like a “snap-to-grid” function are your best friend here—they act like a digital T-square, ensuring every line is perfectly straight and every corner is a crisp 90-degree angle. This cleans up all the minor imperfections of a hand-drawn sketch.
With your scale set, start by drawing the main walls of your space. Just focus on the perimeter and interior walls for now, plugging in the exact dimensions from your notes. Don’t sweat the doors, windows, or furniture just yet. Most software will automatically label the wall lengths as you draw, which is a huge time-saver. This quickly transforms your rough sketch into a precise, foundational outline, ready for all the finer details.
Bringing Your Floor Plan to Life with Details
So, you’ve got the digital outline of your space locked in. Think of this as the skeleton—it’s accurate, but it’s not yet a home. The next step is to flesh it out by adding the features that make a space livable and functional. This is where we move beyond raw measurements and start thinking about how people will actually use the rooms.
The first layer to add is the architectural elements. These are the fixed features that really define a room’s structure and flow. Thankfully, your software will have a library of these ready to go, so you can start dragging and dropping them right onto your plan.
Here’s what I always add first, in this order:
- Doors: Make sure you include the door swing! It’s a tiny detail that makes a massive difference, showing you exactly how much clearance you need. You don’t want to plan for a bookshelf right where a door needs to open.
- Windows: Pop these in based on your measurements. Their placement is everything—it dictates natural light, affects the room’s mood, and heavily influences where your furniture can go.
- Staircases: If you have them, get them in with the right dimensions. Add the directional arrows (up/down) to make it clear how you move between floors.
- Built-ins: Don’t forget things like closets, pantries, or fixed shelving. These are permanent fixtures that eat into your available floor space.
Getting these fundamentals right ensures your plan is structurally sound before you even start thinking about a couch.
Arranging Furniture and Testing Layouts
Now comes the fun part: playing interior designer. Most floor plan tools have huge libraries packed with standard-sized furniture—sofas, beds, tables, even kitchen appliances. This is basically your digital sandbox.
Start dragging and dropping items into each room to see what works. Does the sofa look better against the main wall, or does it create a cozier vibe facing the fireplace? Is there enough room to walk around the bed without bumping into a dresser? This is your chance to spot design mistakes before they become real-world, back-breaking problems.
A floor plan’s true value comes alive when you test its flow. Adding furniture and looking at traffic patterns lets you simulate daily life, catching awkward pathways or cramped corners long before you move a single box.
As you place furniture, always think about movement. The paths people take from one room to another, or from the door to a chair, need to be clear and intuitive. A great floor plan isn’t just about fitting things in; it’s about making the space feel effortless to live in.
It’s no surprise that the demand for these visualization tools is exploding. The global market for floor plan solutions is on track to hit $7.8 billion by 2033, growing at a 12% annual clip. This just goes to show how critical detailed, functional floor plans have become for everyone from architects to homeowners. You can dig into these market projections and their drivers if you’re curious.
While you’re adding these final touches, start thinking about materials, too. A solid guide on choosing the right flooring can help you connect the dots between your digital design and the real-world finishes that will bring it all together.
Bringing Your Design to Life and Sharing It
A flat, 2D floor plan is the blueprint, the essential map of your space. But let’s be honest, a 3D model is what makes a design real. It’s the difference between looking at a map and actually standing in the city.
Most of the design tools we use today have a simple button that magically pops your 2D layout into a three-dimensional world. This isn’t just for show; it’s a critical gut-check. Suddenly, you can see things that a top-down view completely hides.
From this perspective, you can finally appreciate the sightline from the front door all the way to the backyard. You can get a true sense of vertical space by “standing” under a grand staircase or seeing how high the vaulted ceilings feel. This is how you catch potential problems and, more importantly, how you get other people—be it a partner, a client, or your contractor—to see the vision exactly as you do.
Adding the Details That Matter
Before you hit “export,” it’s time to add the final layer of information that turns a pretty picture into a workable document. Think of it as annotating your map with all the crucial details someone would need to navigate it. Your software will have dedicated tools for dimensions, labels, and notes.
Here’s what I always make sure to include:
- Key Dimensions: You need the big-picture numbers, like a room’s overall 12’ x 15’ footprint. But don’t forget the small, critical measurements, like the width of a hallway or the exact space between your kitchen island and the countertops.
- Clear Labels: Every space needs a name. “Master Bedroom,” “Utility Closet,” “Pantry”—leave no room for guesswork. Ambiguity is the enemy of a good plan.
- Important Notes: This is where you add context. Use text boxes to call out things like, “Load-bearing wall - do not remove” or “Future location for pendant light.”
Taking the time to add these details is what separates an amateur sketch from a professional plan.
A well-annotated plan is a communication tool, first and foremost. It proactively answers questions, which saves you from expensive misunderstandings with your build team or suppliers later on.
The ability to create these compelling visuals is why 3D floor plan services are booming. The market is growing fast, especially in North America, where real estate and tech are pushing these tools to help sell properties and get investors on board. If you’re curious, you can dig into the growth of the 3D floor plan market and see just how big this trend has become.
Exporting and Sharing Your Work
Okay, your design is polished and ready for the world. Now what? Your software will likely give you a handful of ways to export your work, and choosing the right one depends entirely on who you’re sending it to. A file for your architect is very different from an image for your mood board.
Here’s a quick rundown of the most common formats:
- PDF (Portable Document Format): This is the gold standard for professionals. A PDF locks in the scale and layout, so it prints perfectly and looks the same on every device. It’s the one you send to your contractor.
- JPEG or PNG: These are your go-to image files. They’re perfect for dropping into a presentation, adding to a real estate listing, or just quickly sharing your idea over email.
- DWG (Drawing File): If you’re working with other design pros like an architect or engineer, they’ll probably ask for the DWG. This is the native CAD file they can pull directly into their own software to work with.
Beyond static files, many modern tools—especially the new wave of AI home design apps—offer something even better: an interactive 3D walkthrough. You just send a link, and anyone can explore the space on their own time, from any angle. It’s an incredibly powerful and engaging way to present your final vision.
Common Floor Plan Questions Answered
Even with the best tools, you’re bound to run into a few questions when you start drawing up floor plans. Let’s tackle some of the most common ones I hear—getting these right from the start will save you a ton of headaches down the road.
What’s the Best Scale for a Floor Plan?
This is a classic question, but there’s no single “best” answer. It all comes down to the size of the space and how much detail you need to pack in. That said, for most residential work, a couple of standards will serve you well.
- 1/4” = 1’-0” (Imperial): If you’re in the United States, this is your go-to. It’s the industry standard for a reason. A quarter-inch on paper represents one foot in the real world, which gives you enough room for detail without the drawing becoming massive and unwieldy.
- 1:50 (Metric): For those using the metric system, 1:50 is a fantastic choice. It means one centimeter on your drawing equals 50 centimeters in reality. This scale strikes that same sweet spot between clarity and manageability.
Ultimately, pick the scale that makes the most sense for your project and is easy for you (and anyone else) to read.
A floor plan’s primary job is communication. It needs to be instantly understood, whether it’s for a contractor or just for your own planning. Always prioritize clarity over everything else.
Should I Draw Interior or Exterior Walls First?
Always, always start with the exterior walls. Think of it as building the box before you put the dividers in.
Getting the outer perimeter locked in first establishes the fundamental footprint of the building. From there, you can place the interior walls accurately based on the measurements you took. This outside-in approach is a simple but effective way to prevent small measurement errors from snowballing and throwing your entire internal layout off.
Is a 2D or 3D Floor Plan Better?
This isn’t an either/or situation—they serve completely different purposes, and for a complete project, you really need both.
A 2D floor plan is your technical blueprint. It’s the non-negotiable source of truth for precise measurements, clearances, and spatial relationships. This is the language architects and builders speak.
A 3D floor plan, on the other hand, is all about visualization. It helps you and your clients feel the space. It brings depth, scale, and flow to life in a way a flat drawing simply can’t. In fact, research shows that 1 in 5 buyers will simply ignore a real estate listing if it doesn’t have a floor plan. It’s that crucial for decision-making.
So, use the 2D plan for building and the 3D model for seeing.
Ready to stop sketching and start designing? RoomGenius uses powerful AI to turn your rough ideas or photos into stunning, professional-grade floor plans and interior designs in seconds. Explore the future of design and try it today!