9 High-Impact DIY Room Makeover Ideas for 2025
Dreaming of a new look for your bedroom, living room, or home office? A complete overhaul can feel daunting and expensive, but a stunning transformation is more accessible than you think. You don’t need a massive budget or professional help to breathe new life into your home. With a bit of creativity and effort, you can execute a high-impact refresh that reflects your personal style and revitalizes your surroundings.
This guide is designed to be your go-to resource for actionable projects that deliver professional-level results without the associated cost. We will explore nine powerful diy room makeover ideas, each broken down into practical steps to help you get started immediately. From renter-friendly wall treatments like peel-and-stick wallpaper to clever furniture upcycling and strategic lighting, these concepts are both budget-friendly and achievable for any skill level.
Instead of just telling you what to do, we provide the “how” and the “why” behind each idea. You will learn to create a stunning gallery wall, install functional floating shelves, and use paint techniques to design a dramatic accent wall. Get ready to unlock your home’s hidden potential and create a space that feels uniquely yours.
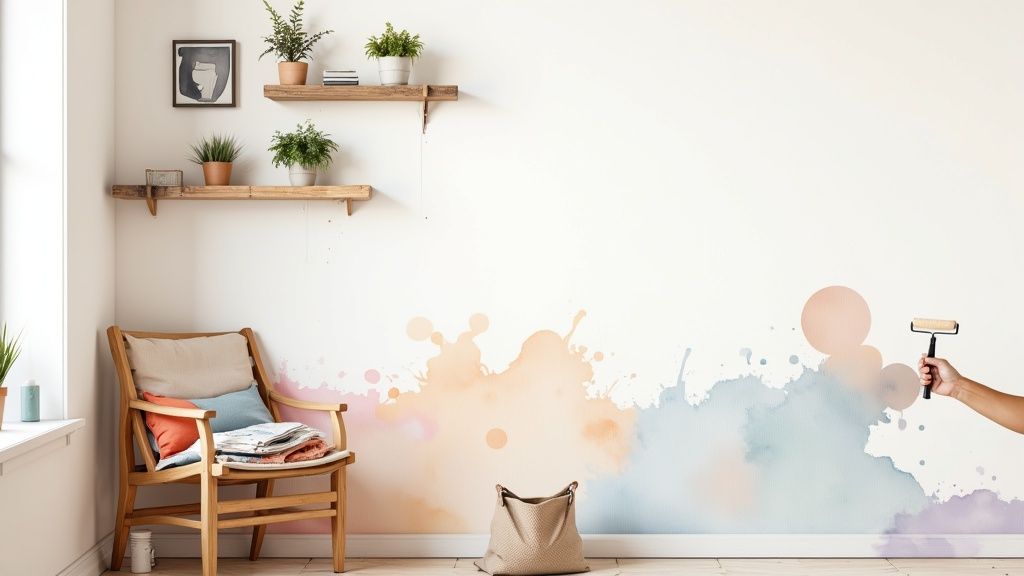
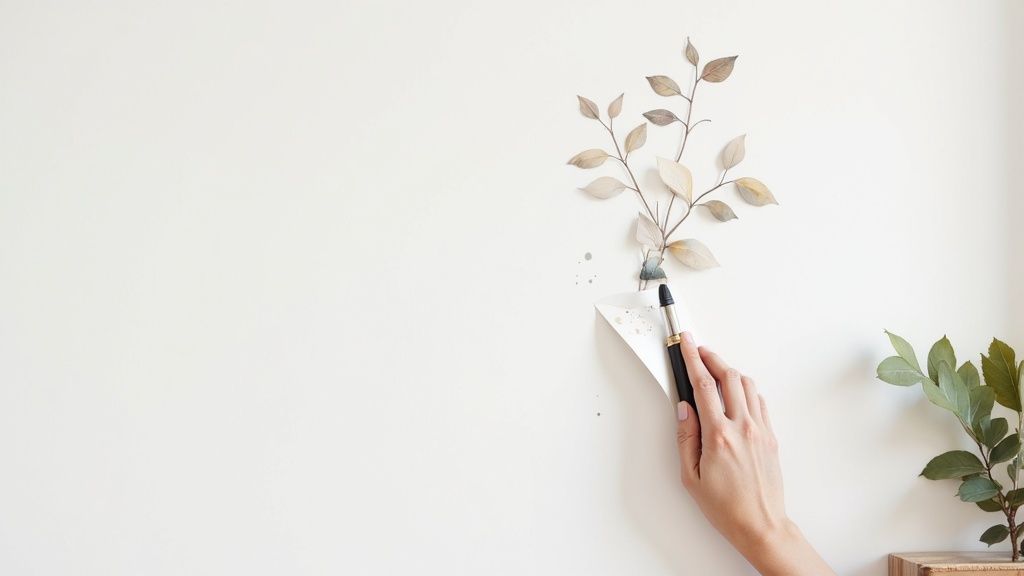
1. Peel-and-Stick Wallpaper or Wall Decals
One of the most impactful DIY room makeover ideas for both renters and homeowners is using peel-and-stick wallpaper or wall decals. This removable wall covering acts like a giant, high-quality sticker, allowing you to introduce bold patterns, vibrant colors, and unique textures without the commitment or mess of traditional wallpaper. It’s a game-changer for anyone wanting a dramatic transformation in just a few hours.
Why It Works So Well
The primary benefit is its temporary nature. You can completely change the look of a room for a season, an event, or until you’re ready for a new style, all without damaging the underlying paint or walls. This makes it an ideal solution for creating a stunning accent wall in a bedroom, adding a faux-tile backsplash in a kitchen, or designing a whimsical nursery mural. For unique and durable decorative accents, especially in moisture-prone areas, consider exploring the world of waterproof stickers to complement your design.
Quick Tips for a Flawless Application
- Prep the Surface: Thoroughly clean your walls with a mild soap and water mixture and let them dry completely. A smooth, clean surface is crucial for proper adhesion.
- Measure and Overlap: Always measure your space and order about 10% extra material for mistakes and pattern matching. Most papers require a slight overlap (usually 1/16th of an inch) to prevent gaps.
- Use the Right Tools: A simple toolkit including a measuring tape, a utility knife, and a plastic smoothing tool will help you eliminate air bubbles and achieve a professional finish.
- Start Small: If you’re nervous, begin with a smaller, less conspicuous area or use a sample piece to get a feel for the material before tackling a large wall.
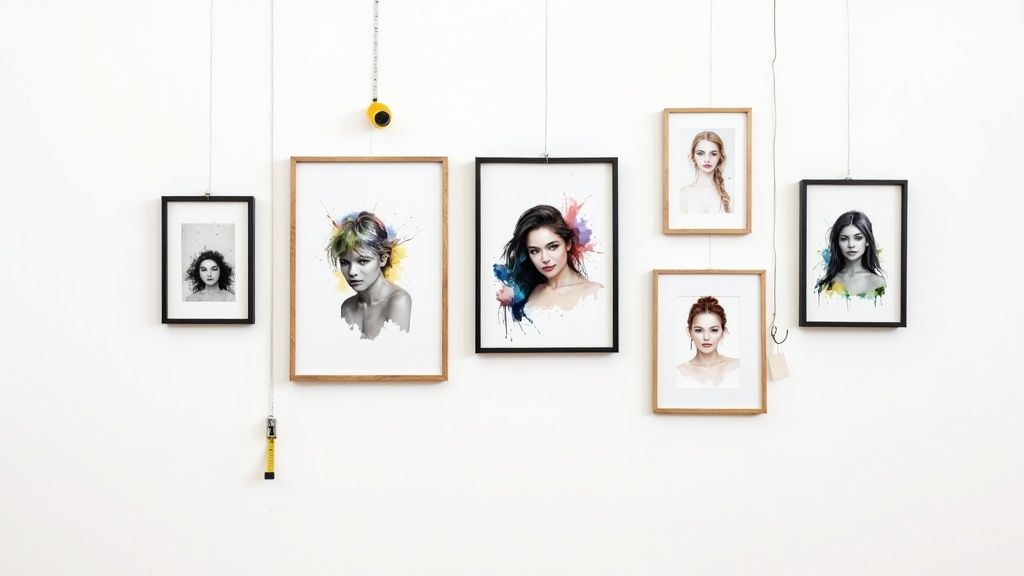
2. Gallery Wall Creation
Creating a gallery wall is a classic yet incredibly personal diy room makeover idea that transforms a blank wall into a dynamic focal point. This technique involves curating and arranging a collection of artwork, photographs, prints, and even three-dimensional objects to showcase your unique personality and story. It’s a versatile design solution that can be adapted to any style, from minimalist and modern to eclectic and bohemian.
Why It Works So Well
The power of a gallery wall lies in its ability to inject personal narrative into your decor. It’s a fantastic way to fill a large, empty space, like above a sofa or along a staircase, without investing in a single, oversized piece of art. You can easily mix high-end prints with family photos, children’s drawings, and thrifted finds, making it a budget-friendly option that can evolve with you over time. Simply swap out pieces to refresh the look.
Quick Tips for a Flawless Application
- Plan Your Layout: Before hammering any nails, arrange your frames on the floor. Trace each frame onto paper, cut out the templates, and tape them to the wall to visualize the final arrangement.
- Establish an Anchor: Start with your largest or most significant piece, placing it slightly off-center, and build the rest of your arrangement around it.
- Maintain Consistency: To create a cohesive look, stick to a unifying element. This could be a consistent frame color, a similar color palette in the artwork, or using the same style of matting for all pieces.
- Watch Your Spacing: Keep the distance between frames consistent, typically around 2-3 inches. Use a level and measuring tape to ensure your lines are straight and the spacing is even for a professional, polished finish.
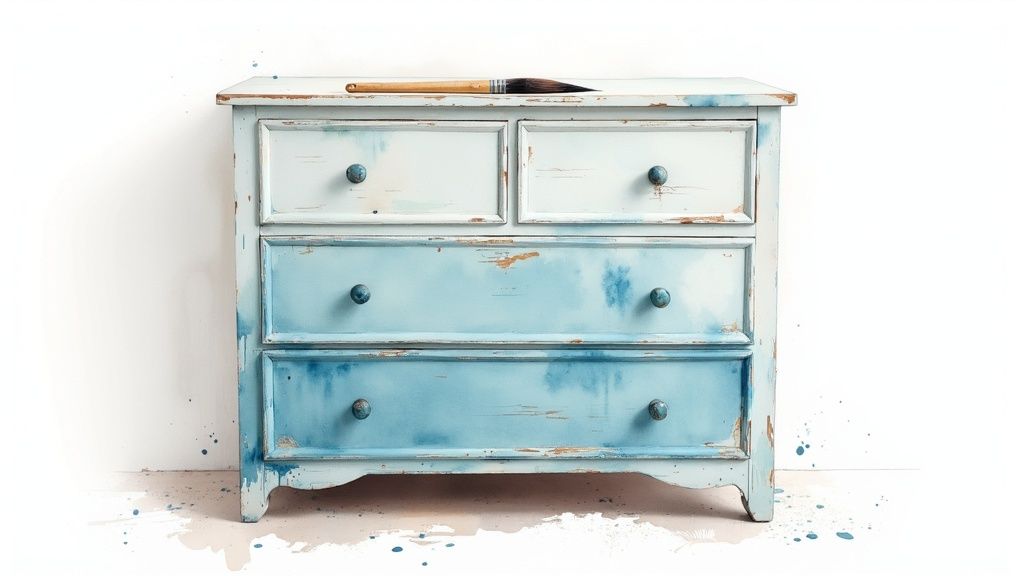
3. Furniture Painting and Upcycling
Breathing new life into old, tired, or outdated furniture is a cornerstone of impactful DIY room makeover ideas. Upcycling through painting, staining, or hardware changes allows you to completely customize pieces to fit your evolving style. This sustainable approach not only saves money but also reduces waste by transforming a forgotten dresser or a dated side table into a bespoke centerpiece for your room.
Why It Works So Well
Furniture painting offers a high-impact transformation for a relatively low cost and effort. You can take a thrift store find or an inherited piece and make it uniquely yours, matching it perfectly to your room’s color palette. From a chic two-tone kitchen cabinet makeover to a rustic distressed finish on a dining table, the possibilities are endless. Once your piece is complete, you can find the perfect spot for it; for more inspiration, check out these tips on how to arrange living room furniture. This method allows you to preserve well-made older furniture while updating its aesthetic.
Quick Tips for a Flawless Application
- Prep the Surface: Proper preparation is non-negotiable. Always clean the piece thoroughly, sand it lightly to remove old finish and create grip, and apply a quality primer.
- Choose the Right Paint: Chalk paint is popular for its minimal prep and matte finish, while latex or acrylic paints offer durability. Consider the furniture’s use when selecting your paint.
- Use Quality Tools: Invest in good brushes and rollers to avoid streaks and loose bristles. A small artist’s brush is great for detailed areas.
- Allow Proper Drying Time: Be patient and let each coat of primer and paint dry completely according to the manufacturer’s instructions before applying the next or adding a topcoat.
4. String Lights and LED Strip Lighting
Beyond traditional lamps, decorative lighting is one of the easiest and most affordable DIY room makeover ideas for adding instant ambiance. String lights and self-adhesive LED strips offer a way to introduce layers of light that create warmth, highlight architectural features, and set a specific mood without any complex electrical work. This versatile solution can transform a space from sterile to cozy or from dull to dynamic in minutes.
Why It Works So Well
The biggest advantage of this lighting is its flexibility and ease of installation. LED strips can be cut to size and stuck almost anywhere, making them perfect for under-cabinet kitchen lighting, backlighting a TV or headboard, or lining the edges of a desk. String lights, once just for holidays, now add a whimsical or romantic glow to bedrooms, balconies, and living areas year-round. They are an excellent tool for defining a space or drawing attention to a focal point.
Quick Tips for a Flawless Application
- Plan Your Layout: Before peeling any adhesive backing, loosely place your lights to see how they look and ensure your cord can reach an outlet. Hide wires behind furniture or use paintable cord covers for a clean look.
- Choose the Right Color Temperature: For a cozy and inviting feel, opt for “warm white” lights (around 2700K-3000K). “Cool white” or colored RGB LEDs are better for a modern, energetic, or task-oriented space.
- Layer Your Lighting: Use LED strips and string lights as accent or ambient lighting to complement your main overhead lights. This creates depth and visual interest in the room.
- Go Smart: Consider smart LEDs that you can control with an app or voice assistant. This allows you to change colors, dim the brightness, and set schedules to completely customize your room’s atmosphere.
5. Floating Shelves and Wall Storage
One of the smartest DIY room makeover ideas for decluttering and adding style is installing floating shelves. These wall-mounted storage solutions appear to “float” without visible brackets, offering a clean, minimalist aesthetic while maximizing vertical space. They provide both functional storage and a curated display area, making them a versatile choice for any room needing an organizational boost and a touch of modern elegance.
Why It Works So Well
Floating shelves are brilliant because they draw the eye upward, making a room feel taller and more open. This is especially effective in smaller areas where traditional bulky furniture would feel overwhelming. They can transform an empty wall into a functional feature, perfect for a kitchen spice rack, a living room media display, bathroom toiletry organization, or a streamlined home office bookshelf. For more ideas on using vertical space, explore these strategies on how to decorate small spaces.
Quick Tips for a Flawless Application
- Secure with Anchors: Always use the appropriate wall anchors for your wall type (drywall, plaster, brick) to ensure the shelves can safely support the intended weight.
- Level is Key: Use a level during installation to guarantee your shelves are perfectly straight. Even a slight angle can be visually jarring and make items unstable.
- Consider Wall Material: Before drilling, confirm your wall’s composition. Some modern shelves come with hardware specific to certain wall types, so choose accordingly.
- Group for Impact: For a more dynamic look, install shelves in groups of odd numbers, like three or five, and vary the spacing between them to create visual interest.
6. Textile and Soft Furnishing Swaps
Perhaps the quickest and most budget-friendly of all DIY room makeover ideas is swapping out your textiles and soft furnishings. This simple approach involves changing elements like curtains, throw pillows, blankets, and rugs to instantly refresh a room’s color palette, texture, and overall mood. It’s an incredibly effective way to adapt your space to a new season or design trend without committing to any permanent changes.
Why It Works So Well
Textiles are the powerhouse of interior design, offering an immediate sensory experience through color, pattern, and feel. By simply switching from lightweight linen curtains to heavy velvet ones, you can make a room feel cozier for winter. Adding a few boldly patterned throw pillows can energize a neutral sofa, while a new area rug can completely redefine the zones within an open-concept space. This method allows for maximum impact with minimal effort and expense.
Quick Tips for a Flawless Application
- Follow the 60-30-10 Rule: Use your textiles to execute this classic design principle. Your dominant color (walls, large furniture) should be 60%, a secondary color (curtains, rugs) 30%, and an accent color (pillows, throws) 10%.
- Mix Patterns and Textures: Create visual interest by layering different materials. Pair a smooth silk pillow with a chunky knit throw, or place a geometric-patterned rug under a solid-colored sofa. The key is to vary the scale of the patterns.
- Consider Seasonality: Store a small collection of seasonal textiles. Bring out lightweight, bright fabrics for spring and summer, and switch to warm, rich materials like faux fur and wool for fall and winter.
- Don’t Forget the Details: Look beyond the living room. A new shower curtain can transform a bathroom, and fresh bedding can completely change the feel of a bedroom.
7. Accent Wall with Paint Techniques
Beyond a single solid color, a painted accent wall can become a true work of art through creative techniques. This DIY room makeover idea uses paint to create a dynamic focal point with geometric patterns, color blocking, ombre gradients, or even textured finishes. It’s an affordable yet highly impactful way to infuse personality and depth into any space using just a few simple tools and a bit of creativity.
Why It Works So Well
This method transforms a plain wall into a custom feature that defines the room’s style. Unlike a simple coat of paint, techniques like a geometric mountain mural in a kid’s room or a sophisticated color-blocked design behind a desk add bespoke character. It allows you to play with color and shape to highlight architectural features or create the illusion of a larger, more interesting space. Properly selecting your palette is key; discover helpful advice on how to choose color schemes to ensure your design is cohesive and visually stunning.
Quick Tips for a Flawless Application
- Plan Your Design: Before picking up a brush, sketch your design directly on the wall with a pencil and level. This helps you visualize the final look and make adjustments.
- Use High-Quality Tape: For crisp, clean lines in geometric or striped patterns, invest in a quality painter’s tape. Press the edges down firmly to prevent paint from bleeding underneath.
- Work in Good Lighting: Ensure your room is well-lit to spot any imperfections or uneven coats as you work. Natural daylight is best, but bright lamps can also work.
- Patience is Key: Allow each color to dry completely according to the manufacturer’s instructions before taping over it for the next section. Rushing this step can ruin your clean lines.
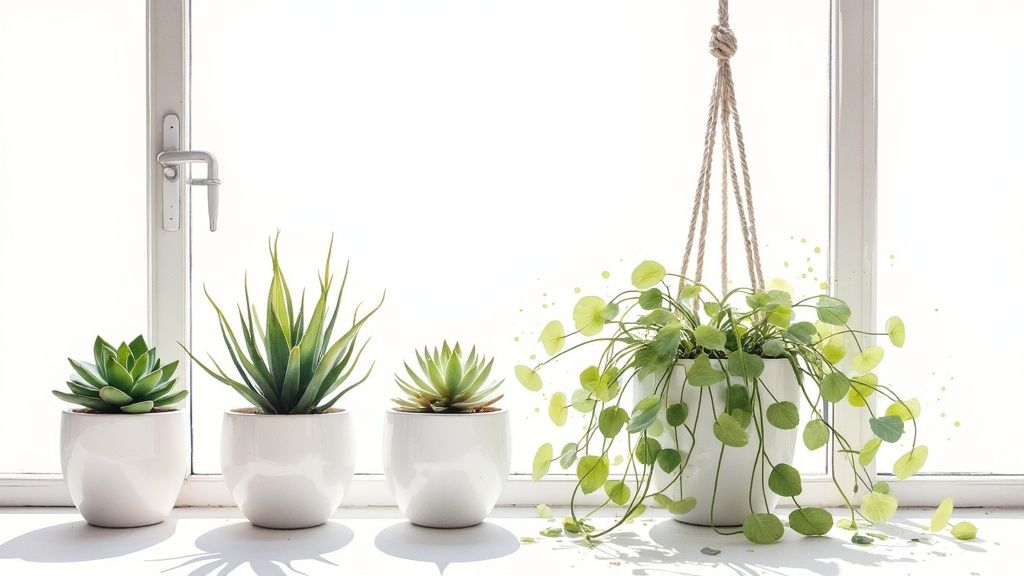
8. Plant Integration and Indoor Gardens
Introducing living greenery is one of the most transformative and health-conscious DIY room makeover ideas available. Integrating plants adds natural color, dynamic texture, and a breath of fresh air to any space, literally. From a single statement plant to a full-fledged indoor garden, greenery can make a room feel more alive, peaceful, and connected to the outdoors without requiring a major renovation.
Why It Works So Well
Plants are natural mood boosters and air purifiers, making them both a stylistic and functional addition. They can soften modern decor, add a bohemian touch, or bring a pop of life to a minimalist room. A towering fiddle leaf fig can serve as a living sculpture in a corner, while a small herb garden on a kitchen windowsill adds charm and practicality. For a touch of tropical elegance and a bold statement, consider integrating a beautiful Monstera Deliciosa with its iconic split leaves.
Quick Tips for a Flawless Application
- Assess Your Light: Before buying, observe the natural light in your room. South-facing windows are great for sun-loving plants, while north-facing rooms suit low-light varieties like snake plants.
- Start with Easy-Care Plants: If you’re new to plant care, begin with hardy options like pothos, ZZ plants, or spider plants. These are forgiving and can tolerate a range of conditions.
- Group for Impact: Create visual interest by grouping plants of different heights, leaf shapes, and textures. This creates a lush, collected look and can also establish a micro-environment that benefits the plants.
- Choose Stylish Planters: The pot is part of the decor. Select planters that complement your room’s color scheme and style, whether it’s a terracotta pot, a ceramic planter, or a woven basket.
9. Mirror Placement and Arrangement
Strategic mirror placement is a classic interior design trick that ranks among the most effective diy room makeover ideas. Far more than just a place to check your reflection, mirrors are powerful tools for manipulating light and space. They can amplify natural light, create the illusion of depth, and act as stunning decorative focal points, instantly making a room feel larger, brighter, and more dynamic.
Why It Works So Well
The magic of mirrors lies in their ability to reflect light and views. Placing a large mirror opposite a window doubles the amount of natural light entering a room and can bring a beautiful outdoor scene inside. In smaller spaces like entryways or narrow hallways, a well-placed mirror can visually erase a wall, making the area feel open and expansive. This technique is perfect for brightening a dark corner, adding a touch of glamour, or creating a unique gallery wall with multiple smaller mirrors.
Quick Tips for a Flawless Application
- Consider the Reflection: Before hanging, stand where the mirror will go and see what it reflects from major viewpoints in the room. Ensure it reflects something you want to see, like a window or a piece of art, not clutter.
- Place Opposite Light Sources: To maximize brightness, position mirrors opposite windows, lamps, or chandeliers. This will capture and bounce light throughout the space.
- Go Big: Don’t be afraid to use a large, oversized mirror. A single large mirror often makes a bigger impact and creates a cleaner, less cluttered look than multiple small ones.
- Secure It Properly: Mirrors are heavy. Always use the appropriate mounting hardware, like heavy-duty hooks and anchors, and locate wall studs whenever possible for maximum safety and stability.
9 DIY Room Makeover Ideas Comparison
| Item | Implementation Complexity 🔄 | Resource Requirements ⚡ | Expected Outcomes 📊 | Ideal Use Cases 💡 | Key Advantages ⭐ |
|---|---|---|---|---|---|
| Peel-and-Stick Wallpaper or Wall Decals | Low - no tools needed, quick install | Moderate - cost varies by brand and area | Moderate - decorative wall transformation | Renters, accent walls, temporary style updates | Removable, renter-friendly, wide design variety |
| Gallery Wall Creation | Medium - requires planning, measuring | Low to Moderate - frames/artwork costs vary | High - personalized focal point | Living rooms, stairways, offices, personal décor | Customizable, budget-friendly, dramatic impact |
| Furniture Painting and Upcycling | High - time-intensive, prep & technique needed | Low to Moderate - paint & tools, existing furniture | High - unique, sustainable furniture | Old furniture makeover, eco-friendly design | Cost-effective, customizable, sustainable |
| String Lights and LED Strip Lighting | Low - easy installation with clips or adhesive | Low - inexpensive lighting options | Moderate - ambiance and accent lighting | Bedrooms, patios, seasonal decorating | Easy, energy-efficient, instant ambiance |
| Floating Shelves and Wall Storage | Medium - requires tools, wall anchoring | Moderate - shelf cost & hardware | Moderate - functional and decorative storage | Small spaces, kitchens, bathrooms, offices | Maximizes space, clean look, versatile |
| Textile and Soft Furnishing Swaps | Low - no installation, just replacing items | Low to Moderate - cost varies by textile quality | Moderate - quick color/texture update | Seasonal décor, color scheme refresh | Cost-effective, instant transformation, flexible |
| Accent Wall with Paint Techniques | Medium - requires patience, steady hand | Low - paint and basic tools | High - impactful focal wall | Feature walls, rooms needing visual interest | Customizable, low cost, instant focal point |
| Plant Integration and Indoor Gardens | Low to Medium - dependent on plant care | Low to Moderate - cost varies by plant size | Moderate - liveliness, air quality | Living rooms, kitchens, offices, any style needing life | Improves air, natural beauty, mood boost |
| Mirror Placement and Arrangement | Low - requires placement planning | Low to Moderate - mirror cost varies | Moderate to High - space and light illusion | Small spaces, dark rooms, decorative focal points | Enlarges space, increases light, dual function |
Bringing Your Vision to Life
You’ve explored a powerful arsenal of DIY room makeover ideas, from the instant impact of peel-and-stick wallpaper to the personal touch of a curated gallery wall. We’ve seen how simple changes, like swapping out textiles or strategically placing mirrors, can dramatically alter a room’s atmosphere without requiring a significant budget or professional help. The journey from a bland space to a personalized sanctuary is built on these accessible, creative, and transformative projects.
The true magic happens not just in executing a single idea but in understanding how they can work together. An upcycled dresser painted in a bold hue can become the anchor for an accent wall. Floating shelves can be adorned with the very plants that bring life and color into your indoor garden. Each project is a stepping stone, a single brushstroke in the larger masterpiece of your home’s design.
Key Takeaways for Your DIY Journey
Remember these core principles as you begin your transformation:
- Start Small, Build Momentum: You don’t need to tackle everything at once. Begin with a manageable project, like creating a small gallery wall or adding string lights. Completing one task will build your confidence and inspire you to take on the next.
- Embrace Your Personal Style: These ideas are templates, not rigid rules. The most successful DIY room makeovers are those that reflect the personality and lifestyle of the inhabitant. Use your favorite colors, display meaningful art, and choose textures that bring you comfort.
- Preparation is Paramount: The difference between a professional-looking finish and a frustrating experience often lies in the prep work. Take the time to clean surfaces, gather all your materials before you start, and measure twice. A little patience at the beginning saves a lot of headaches later.
Your Actionable Next Steps
Feeling inspired? It’s time to move from planning to doing. Choose one or two DIY room makeover ideas from this list that genuinely excite you and fit your current budget and timeline. Create a simple project plan: list the materials you need, outline the basic steps, and set aside a weekend to bring it to life.
Don’t be afraid to experiment. The beauty of DIY is the freedom it affords. If a paint color doesn’t feel right, you can always paint over it. If a gallery wall layout seems off, you can easily rearrange it. This process is about discovery and creating a space that feels uniquely and authentically yours. Every small adjustment, every creative choice, moves you closer to a home that is a true extension of yourself.
Feeling overwhelmed by the possibilities? Visualize your perfect space before you pick up a paintbrush with RoomGenius. Upload a photo of your room and instantly experiment with different paint colors, furniture layouts, and decor styles using powerful AI. Try it now and turn your vision into a confident plan. RoomGenius