AI Floor Plan Generator: Sketch In, Floor Plan Out
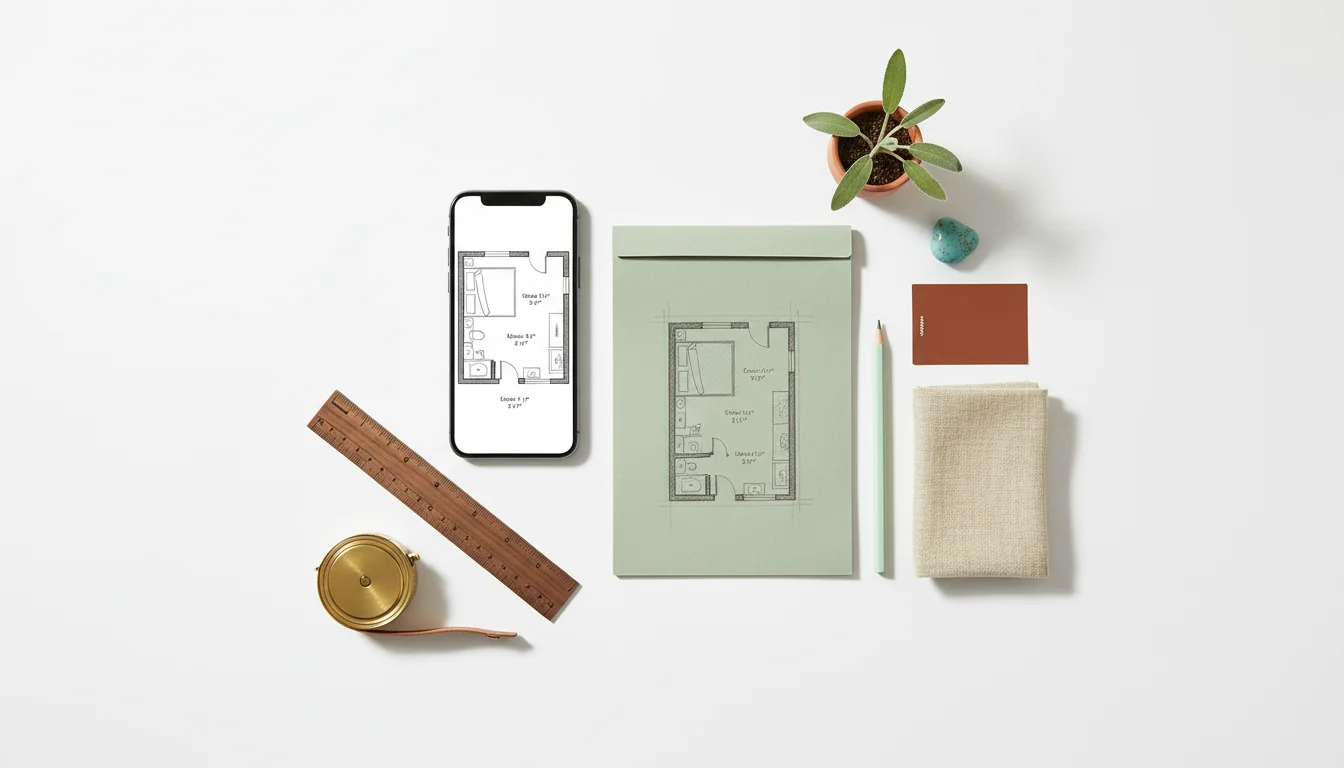
The first floor plan most people ever draw is a bad one. A pencil rectangle on the back of an envelope, a guess at how wide the kitchen is, a door drawn in the wrong place because there was no room for it on the page. Useful, in that it beats trying to remember the layout — but not something you’d hand a contractor or use to confirm a sectional fits.
An AI floor plan generator lifts that envelope sketch into something measurable. Feed it a rough drawing or a walk-through photo, and it returns a clean top-down plan with proportional walls, doors, windows, and (usually) the major fixed furniture. The lines are straight, dimensions are interpolated against typical residential references, doors swing the right way. Not a survey-grade architectural drawing — but for the everyday questions floor plans have to answer, enough.
What is an AI floor plan generator? An AI floor plan generator is software that converts a hand sketch or a walk-through photograph of a room into a clean, measurable, top-down floor plan. It infers wall lengths, door swings, window positions, and fixed-furniture placement automatically. The output is suitable for furniture fit-checks, renovation planning, and rental layout decisions — not for permitting or load-bearing structural work, which still need a drafter or architect.
This post covers what these tools do well, where they break, and how to use one without being misled by a clean-looking output: the two input modes (sketch-to-plan and photo-to-plan), the accuracy you can trust, the furniture decisions a generated plan can make, and the closing trick of feeding the plan back into a render.
What a Floor Plan Generator Actually Does
A traditional floor plan is a measured drawing — someone walked the room with a tape measure, recorded dimensions, and drafted them on graph paper or in CAD. The output is a top-down representation at a known scale (usually 1/4″ = 1′ for residential), with walls, openings, fixtures, and dimensions called out explicitly.
An AI floor plan generator collapses two steps in that workflow: the measurement step (it interpolates from your inputs against typical residential proportions) and the drafting step (rendering happens automatically). The walking-the-room part is usually still required, but the conversion from input to output — which used to be the slow part — takes seconds.
What it returns is a clean, scaled plan in conventions a builder would recognize:
- Walls drawn as parallel double-lines, with thickness proportional to wall type.
- Doors shown with their swing arc, in the correct hinge direction.
- Windows drawn as breaks in the wall with the standard three-line convention.
- Fixed plumbing or appliances (toilet, tub, sink, range, refrigerator) as recognizable top-down icons in their captured locations.
- Optional dimension callouts on each wall and a north arrow if you want one.
If you’ve never read a top-down plan before, our guide to reading floor plans walks through the conventions. An AI generator isn’t inventing a new format — it produces the standard residential floor-plan format, just much faster. A traditional drafter takes 30 to 90 minutes for a small room. The AI takes between five and forty seconds.
The “what it does well” list is specific. AI floor plan generators handle orthogonal rooms (90° corners), single-storey layouts, modest sizes (under ~600 sq ft), and rooms with one to three doors and one to four windows. They are not good — yet — at curved walls, vaulted ceilings, multi-storey loft sections, or rooms with non-standard wall assemblies.
Sketch-to-Plan vs Photo-to-Plan
There are two dominant input modes for AI floor plan generators in 2026, and they are not equivalent. Each one has a different sweet spot, a different accuracy profile, and a different best-fit use case. Knowing which mode you’re in shapes how much trust to put in the output.
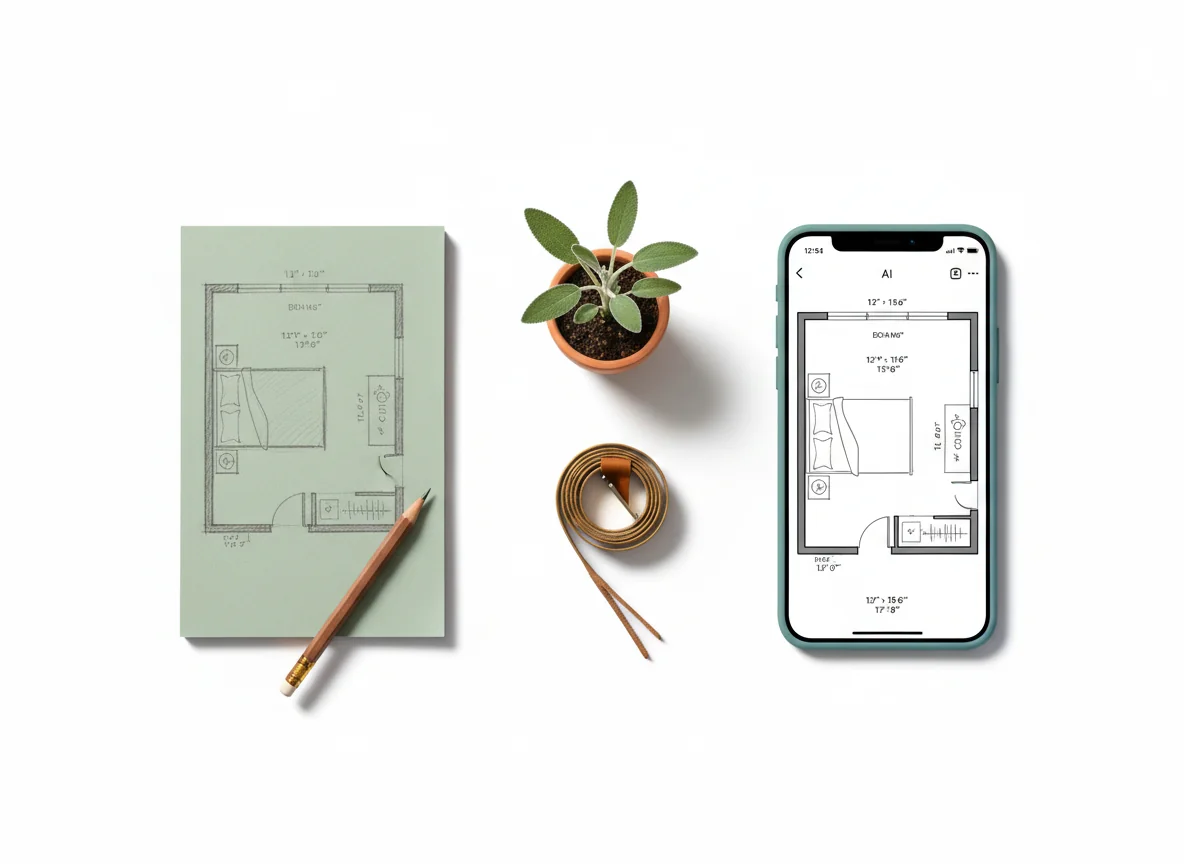
Sketch-to-plan takes a hand-drawn rough — pencil on graph paper, marker on a napkin, finger sketch on a tablet — and converts it into a clean orthogonal plan. The model reads your shapes, snaps walls to right angles, infers door swings from your arrows, and (if you’ve labeled your dimensions, even approximately) scales the output proportionally. The big advantage of sketch-to-plan is that you control the topology. The model is converting your intent, not interpreting reality. So when you label a doorway as “to garage,” it stays a doorway to the garage. When you draw a wall there, the wall is there.
This is the better mode for spaces that don’t yet exist — pre-renovation planning, basement-finishing concepts, ADU layouts, “what if we knocked out this wall.” It’s also the right mode for rentals where you can’t easily walk the unit yet and only have a leasing agent’s PDF to work from. Our deep dive on the interior design sketch workflow — a RoomGenius signature — has more on the upstream half of this loop.
Photo-to-plan takes a walk-through video or a small set of room photos and infers layout from spatial cues — vanishing lines, depth gradients, recognizable furniture as scale anchors, and (on iPhone Pro and recent Android flagships) on-device LiDAR depth data. The model reconstructs the room’s geometry, then projects it top-down. You don’t have to draw anything correctly — you just have to capture the room cleanly.
This is the better mode for spaces that already exist and for irregular rooms (alcoves, bay windows, angled walls), which are hard to sketch but easy to capture photographically.
A condensed comparison:
| Question | Sketch-to-Plan | Photo-to-Plan |
|---|---|---|
| Best for | Spaces that don’t exist yet | Spaces you can walk through now |
| You control | Topology and dimensions | The captured photos only |
| Tolerates messy input | Yes — model snaps to grid | Less — bad photos = bad plan |
| Captures irregular geometry | Poorly — your sketch is the limit | Well — model sees what’s there |
| Works without site visit | Yes | No |
| Typical time investment | 10–20 min sketching | 3–5 min capture |
| Accuracy ceiling | Whatever you sketched | Within ~5–10% of true on flagship phones |
A practical rule: if you can stand in the room, use photo-to-plan; if you can’t — because the renovation hasn’t happened or you’re an out-of-state buyer working from a listing — use sketch-to-plan. Some generators (RoomGenius among them) accept both inputs in the same project and reconcile them.
Accuracy Limits and When to Trust the Plan
This is the section everyone skips and shouldn’t. AI floor plan generators are much better than they were even in 2024, but their output looks far more authoritative than it is. A clean-rendered plan with crisp dimension callouts feels like a survey. It is not.
Here’s what the dimensions in an AI-generated plan actually represent. For sketch-to-plan: an interpretation of whatever you wrote down, snapped to standard residential proportions — accurate to your labels, not to reality. For photo-to-plan: a measurement of what the camera captured, calibrated against typical heights of recognized objects (a 30″ counter, an 80″ door) and — when available — actual depth data from LiDAR. Accuracy on flagship phones with good lighting and a slow walk-through generally lands within five to ten percent of true.
The standard for residential measurement in the United States is ANSI Z765; the Wikipedia overview of floor plans covers the conventions internationally. AI generators don’t currently produce ANSI Z765-compliant plans. They produce layout-grade plans — accurate enough to plan around, not accurate enough to file with a permit office.
The honest accuracy hierarchy, top to bottom:
- Topology — which walls connect to which, where doors and windows are, which way doors swing. Modern AI generators get this right essentially every time on standard residential rooms. Trust it.
- Proportional accuracy — the relative sizes of the walls. A 12-foot wall and a 14-foot wall will be drawn with the right ratio. Trust it for layout decisions; verify before specifying cabinets.
- Absolute dimensions — the exact length of each wall in inches. Trust within ±5% on a clean LiDAR capture; verify with a tape measure for anything you’ll cut, order, or build to.
- Wall thickness, ceiling height, structural detail — usually approximated and often wrong by an inch or two. Don’t trust without confirmation.
- Anything load-bearing or code-related — egress, load paths, header sizing, electrical, plumbing routing. The AI doesn’t know any of this. Don’t ask it to.
For most homeowner decisions, layers one and two are what matter. Will this sectional fit, leaving 30 inches of walking room? The plan tells you. Should we knock out the wall between kitchen and dining? The plan suggests it; a structural engineer signs off. The mistake people make with AI plans is treating a “will it fit” decision and a “what cabinet box do I order” decision the same way because the output looks the same. Tolerate three inches of wiggle for the first; verify with a tape for the second.
Using the Plan to Test Furniture Fit
This is the use case that justifies AI floor plan generators for most users. Once you have a plan, every furniture decision becomes a measurement question instead of a guess.
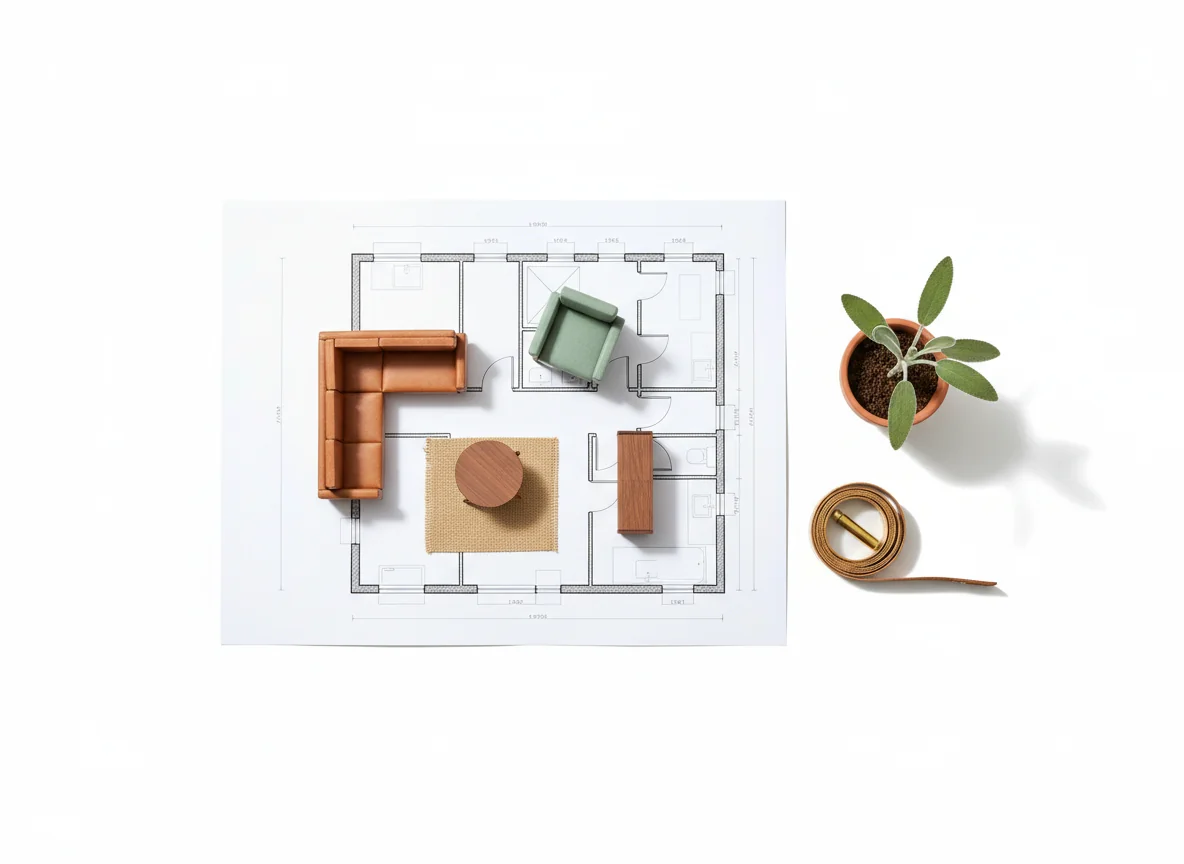
The basic furniture-fit workflow has three steps and takes ten minutes once you have a plan in hand:
- List the pieces you’re testing. Sectional, coffee table, two armchairs, dresser, whatever it is. For each, capture the manufacturer’s dimensions — overall length, depth, and height. Convert to inches if the plan is in inches.
- Place each piece on the plan to scale. Most AI floor plan tools include a furniture library you can drag onto the plan; the items snap to the plan’s scale automatically. If yours doesn’t, you can print the plan and cut paper rectangles to scale.
- Check three clearances around every placement. Walking paths between pieces should be at least 30 inches in main traffic lanes and 18 inches in tight ones. Coffee tables should sit 14 to 18 inches from the sofa edge. Bedside passages should leave at least 24 inches per person. Dining chairs need 36 inches of pull-out room behind them.
That’s it. Once you’ve done this for the pieces you’re considering, you’ve turned a $2,500 sofa decision from a guess into a known-good answer.
A few practical notes from running this workflow on a few hundred rooms. If a piece is borderline by less than two inches, treat it as borderline — the plan’s tolerance and tape-measure reality probably overlap. Always test the path, not just the spot: a sofa fits in the corner; getting it around the doorway, up the stairs, and through the hallway is a separate question AI plans don’t answer. For multi-piece arrangements, lock in the largest piece first and work outward — the sectional anchors the room, the coffee table follows the sectional, chairs fit around the coffee table.
For the deeper layout-thinking version of this exercise, our online room layout planner post covers focal points, traffic flow, and conversation distance.
From Plan to Render: Closing the Loop
A floor plan answers will it fit and where does it go. It doesn’t answer what will it look like. That’s the render’s job — and the most useful pattern in 2026 is treating the plan and the render as two views of the same project.
The closed loop: you start with a sketch or a walk-through photo. The AI produces a floor plan. You test furniture-fit, lock in placements, confirm clearances. Then — the step most people skip — you push the plan through a rendering pass to see the room in three dimensions with those placements respected.
Why bother? Plans flatten the things humans care about most: light, sightlines, sense of scale, the way the eye moves through a room. A 12×14 bedroom with a king bed centered on the long wall reads fine on paper. The render reveals that the bed dominates visually, that the only walking path is between the foot of the bed and the dresser, and that morning light hits the wrong wall. None are plan-detectable. All are render-obvious in three seconds.
The reverse trip matters too. AI renders are persuasively photographic, and people get attached to them before checking dimensions. A plan view enforces the reality check. If you’re doing this for the first time, the how-to-create-floor-plans primer covers the underlying conventions a generated plan inherits.
Frequently Asked Questions
How accurate is an AI-generated floor plan, really?
For flagship phones with LiDAR and clean lighting, photo-to-plan absolute dimensions land within five to ten percent of true. Sketch-to-plan accuracy depends almost entirely on how accurately you sketched. Topology — which walls connect, where doors are, which way they swing — is essentially always correct on standard residential rooms. Treat absolute dimensions as a strong starting point, not a substitute for a tape measure on anything you’ll cut, build, or order to size.
Can I use an AI floor plan for a permit application?
No. Permit-grade plans need to be drafted (or stamped) by a licensed drafter, architect, or engineer depending on jurisdiction and project scope. AI-generated plans are layout-grade — accurate enough for furniture, renovations conceptual planning, and contractor briefings, but not accurate or compliant enough for permitting. Use the AI plan to develop what you want, then hand it off to a drafter to formalize. That handoff usually saves billable hours because the drafter isn’t starting from scratch.
Does it work for irregular rooms (bay windows, angled walls, alcoves)?
Photo-to-plan handles these well — the model sees the actual geometry and reconstructs it. Sketch-to-plan struggles, because most users can’t sketch an angled wall accurately, and the model snaps to the grid you implied. The 2026 generation of generators handles five-degree increments off-orthogonal reasonably; anything more aggressive (curved walls, true geodesic shapes) still produces approximations rather than measurements.
Do I need an iPhone Pro or LiDAR phone to get good results?
Helpful but not required. LiDAR adds a depth measurement that improves absolute-dimension accuracy by roughly half versus a non-LiDAR phone of the same generation. A 2024-or-newer flagship phone without LiDAR, in good light, with a slow walk-through, generally produces a plan that’s within ten percent dimensionally — close enough for furniture fit. Older or budget phones in dim rooms can drift further.
Can I edit the plan after the AI generates it?
Yes — and you usually should. Treat the first output as a draft. Most generators let you nudge walls, move doors, change door swings, retitle rooms, and add furniture from a library. Edits propagate to dimensions automatically. Mental model: AI does the boring 90% in seconds; you spend two minutes on the last 10% that needed a human. Save every iteration as a separate version — generators occasionally re-snap walls in unexpected ways.
What’s the difference between an AI floor plan generator and a CAD tool?
CAD (AutoCAD, SketchUp, Revit) is precision-first and slow. You specify dimensions and the software draws what you specified. AI floor plan generators are speed-first and approximate. You give them an input, they infer dimensions. CAD is for permitting, fabrication, and professional drafting; AI generators are for everyday planning. Most professional designers in 2026 use both — AI for early-phase ideation, CAD for delivery — because the strengths are complementary.
How does this connect to RoomGenius’s redesign features?
In RoomGenius, the floor plan generator and the redesign engine share the same project. Sketch or photograph the room, generate a plan, test furniture-fit, then push the same project through the styling pass to see redesigns with your locked-in placements respected. That round-trip — plan to render to plan again — is what closes the loop on a real planning workflow rather than a one-off render.
Snap, Sketch, or Both — Then Plan the Room
If you’ve ever tried to plan a room without a floor plan, you already know the cost — measuring three times, ordering anyway, and discovering at delivery that the sectional doesn’t make the corner. An AI floor plan generator removes that whole loop. Sketch a room. Snap a room. Either way, you get a usable plan back in seconds.
RoomGenius runs the full sketch-to-plan, photo-to-plan, and plan-to-render workflow on your phone. Try it on the App Store or Google Play. Capture the room, get the plan, stop guessing whether the sofa fits.